Torres Del Paine - W Trek Planning & Logistics
This was perhaps the most logistically challenging trip we’ve scheduled to date. Specifically, booking our W Trek in Torres Del Paine National Park required research and patience…and a spreadsheet! We hope this post will help make the process easier for you.
If you’ve decided that your trip to Chile will include hiking the W Trek (46-50 miles in total) inside the famous Torres Del Paine National Park, you’ll need to book your lodging there first, and adjust the rest of your travel dates around it. The reason is that lodging in the National Park books up EARLY (6-9 months in advance!). So it’s possible that you wanted to arrive in the park, say, on a Monday, but there’s no lodging available that day for the Refugio you’re going to start at, so you’ll have to plan to arrive on Tuesday instead (for example). Also, beds do open up at the Refugios as people cancel, so it’s possible you could check their respective websites and snag an open bed or two, much closer to your trip date if you don’t have the extended timeframe to plan!
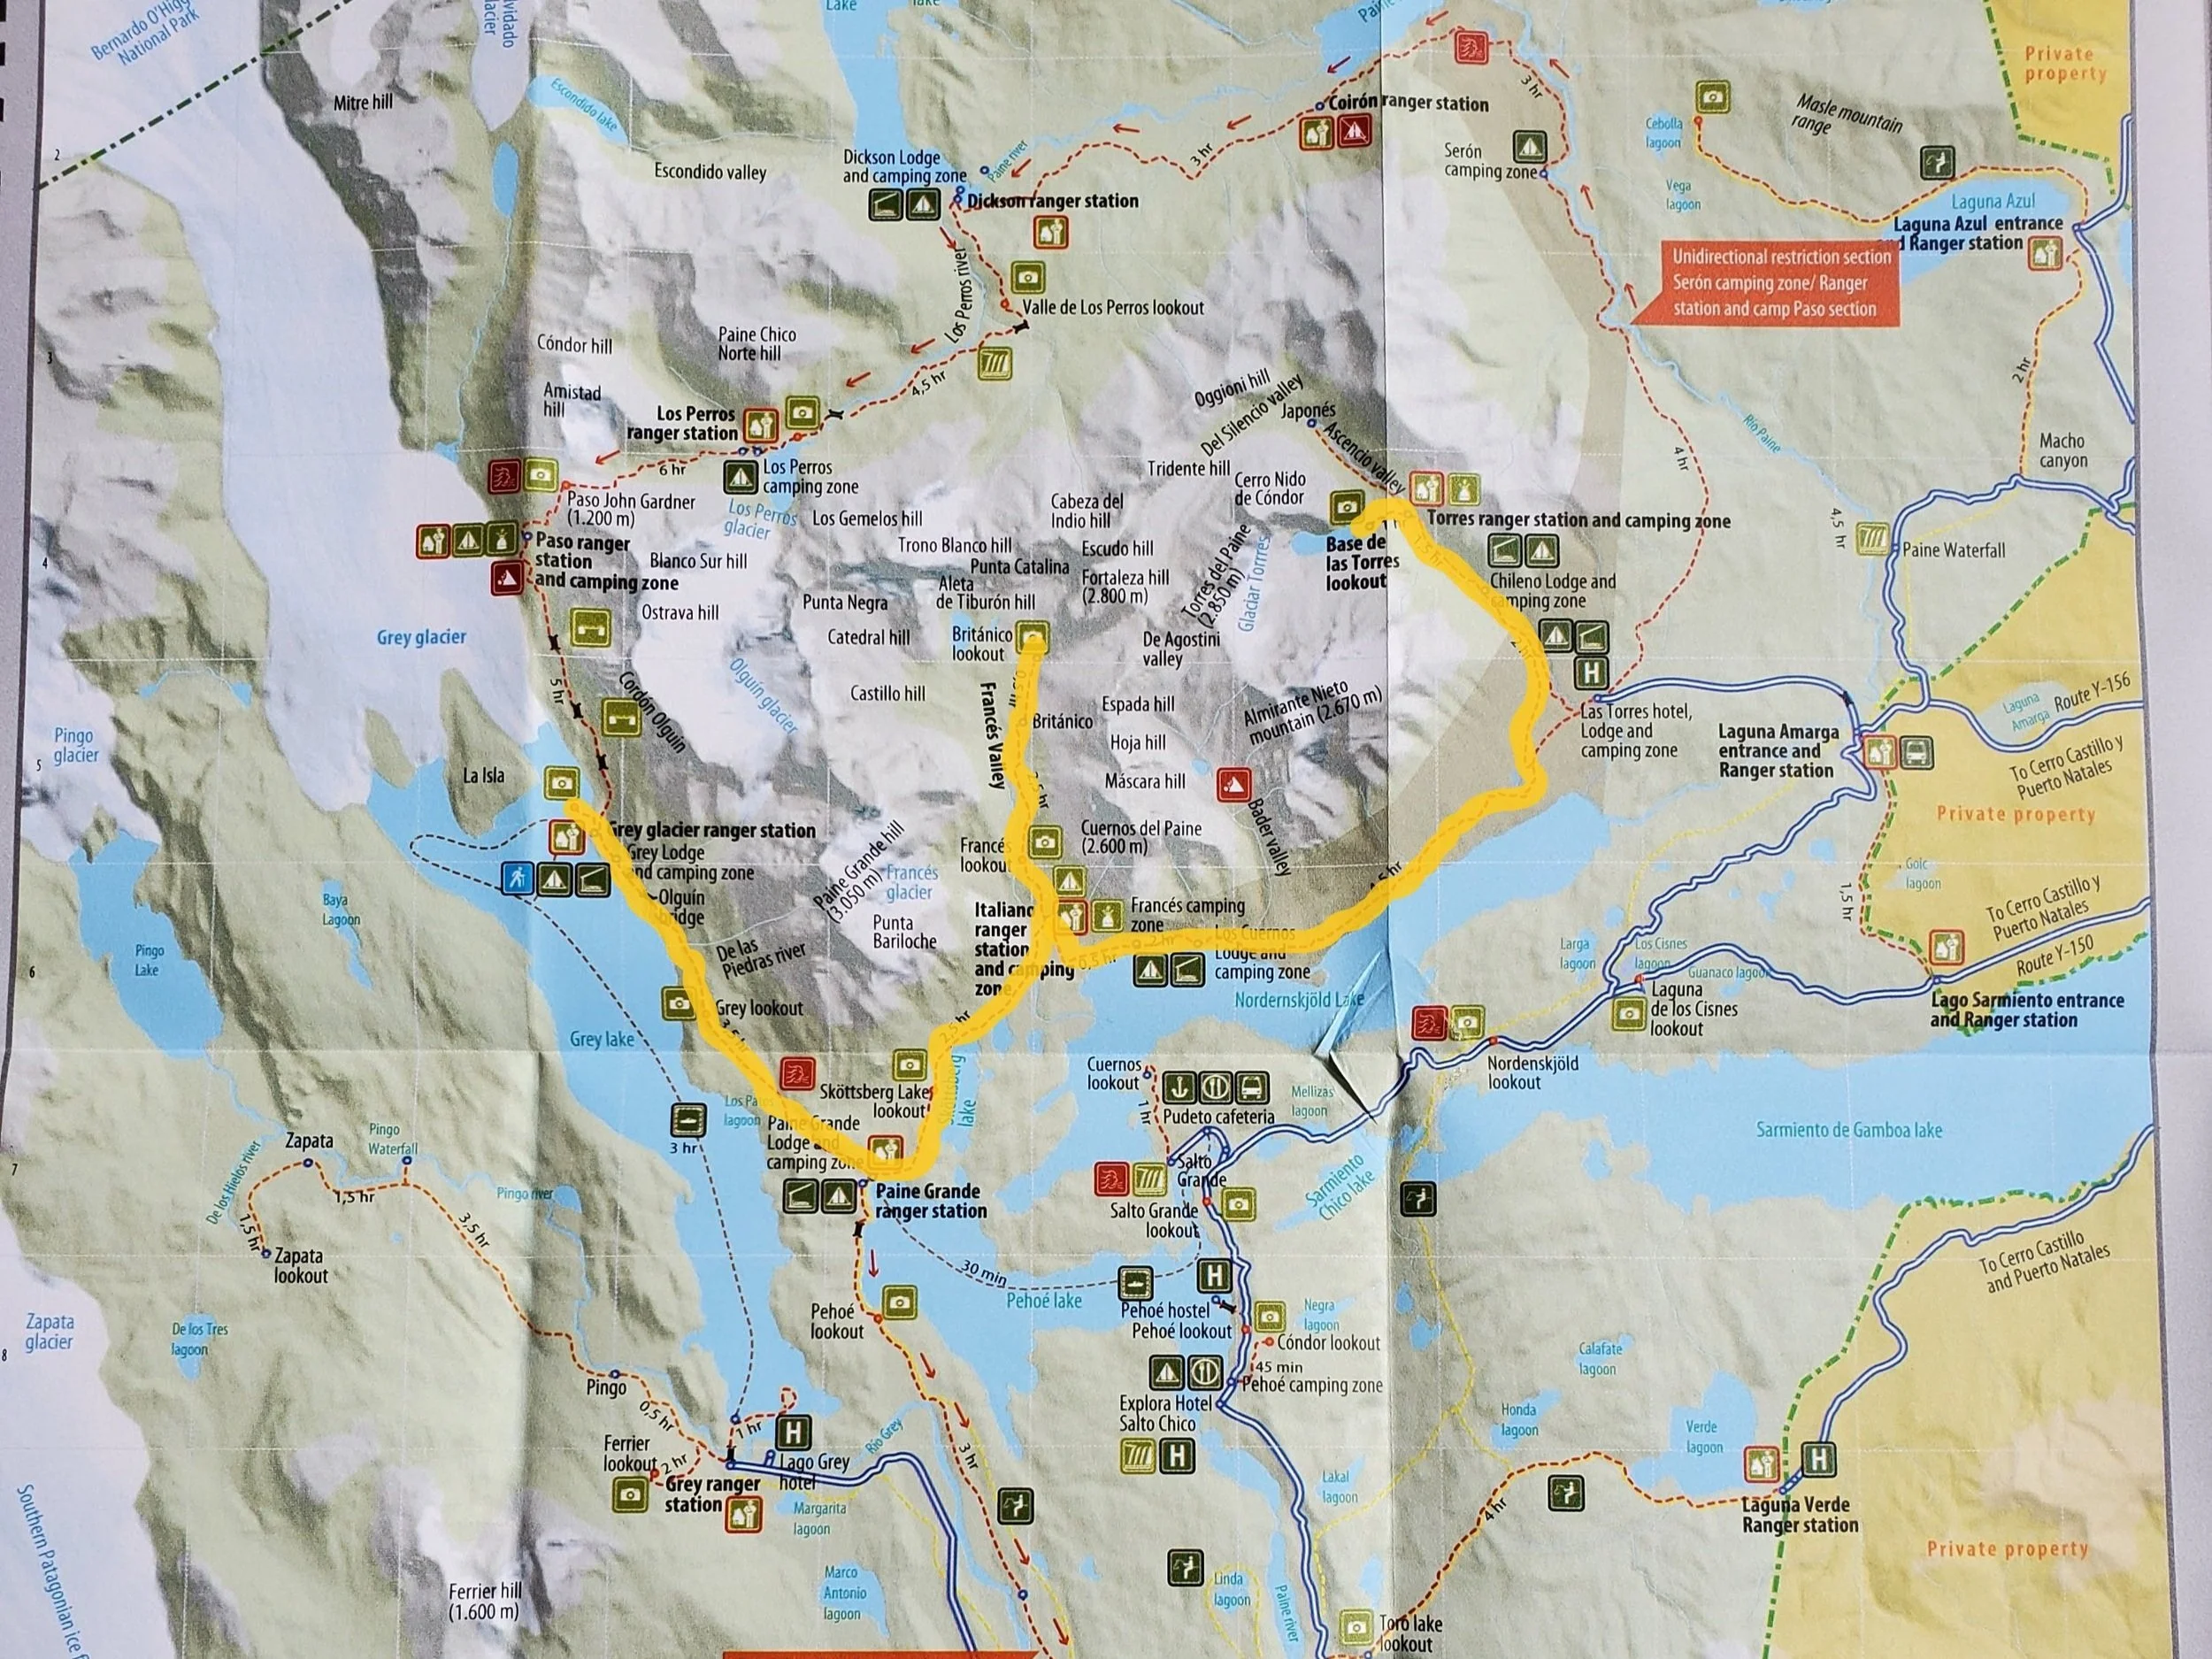
Map of Torres Del Paine with W Trek Highlighted
There are, of course, ways to do Day Hikes and stay in only 1 or 2 Hotel/Refugios, however you will miss out on certain trails & views that you just can’t get to during a day hike. If you’re doing the true W Trek, you will be hiking between Refugios and carrying a backpack with your most necessary gear/clothing. You’ll be spending the night at a different Refugio each night (except possibly your first and last nights where you might end up staying in the same location). You are not allowed to simply show up and camp wherever you like, and there are generally not free beds at the Refugios, so a reservation is REQUIRED (and will be verified at entry) for each night you intend to be in the park.
The first decision will be whether you want to stay indoors, in a shared bunk room which is anywhere from 4-8 bunk beds - co-ed, vs camping outdoors. And if you want to camp outdoors, do you plan to carry your own tent/sleeping bags/etc? Or do you want to rent those items from the Refugio? Regardless of which sleeping arrangement you pick, you are able to also select a meal plan (full board, half board, or no meal plan). More to come on food…
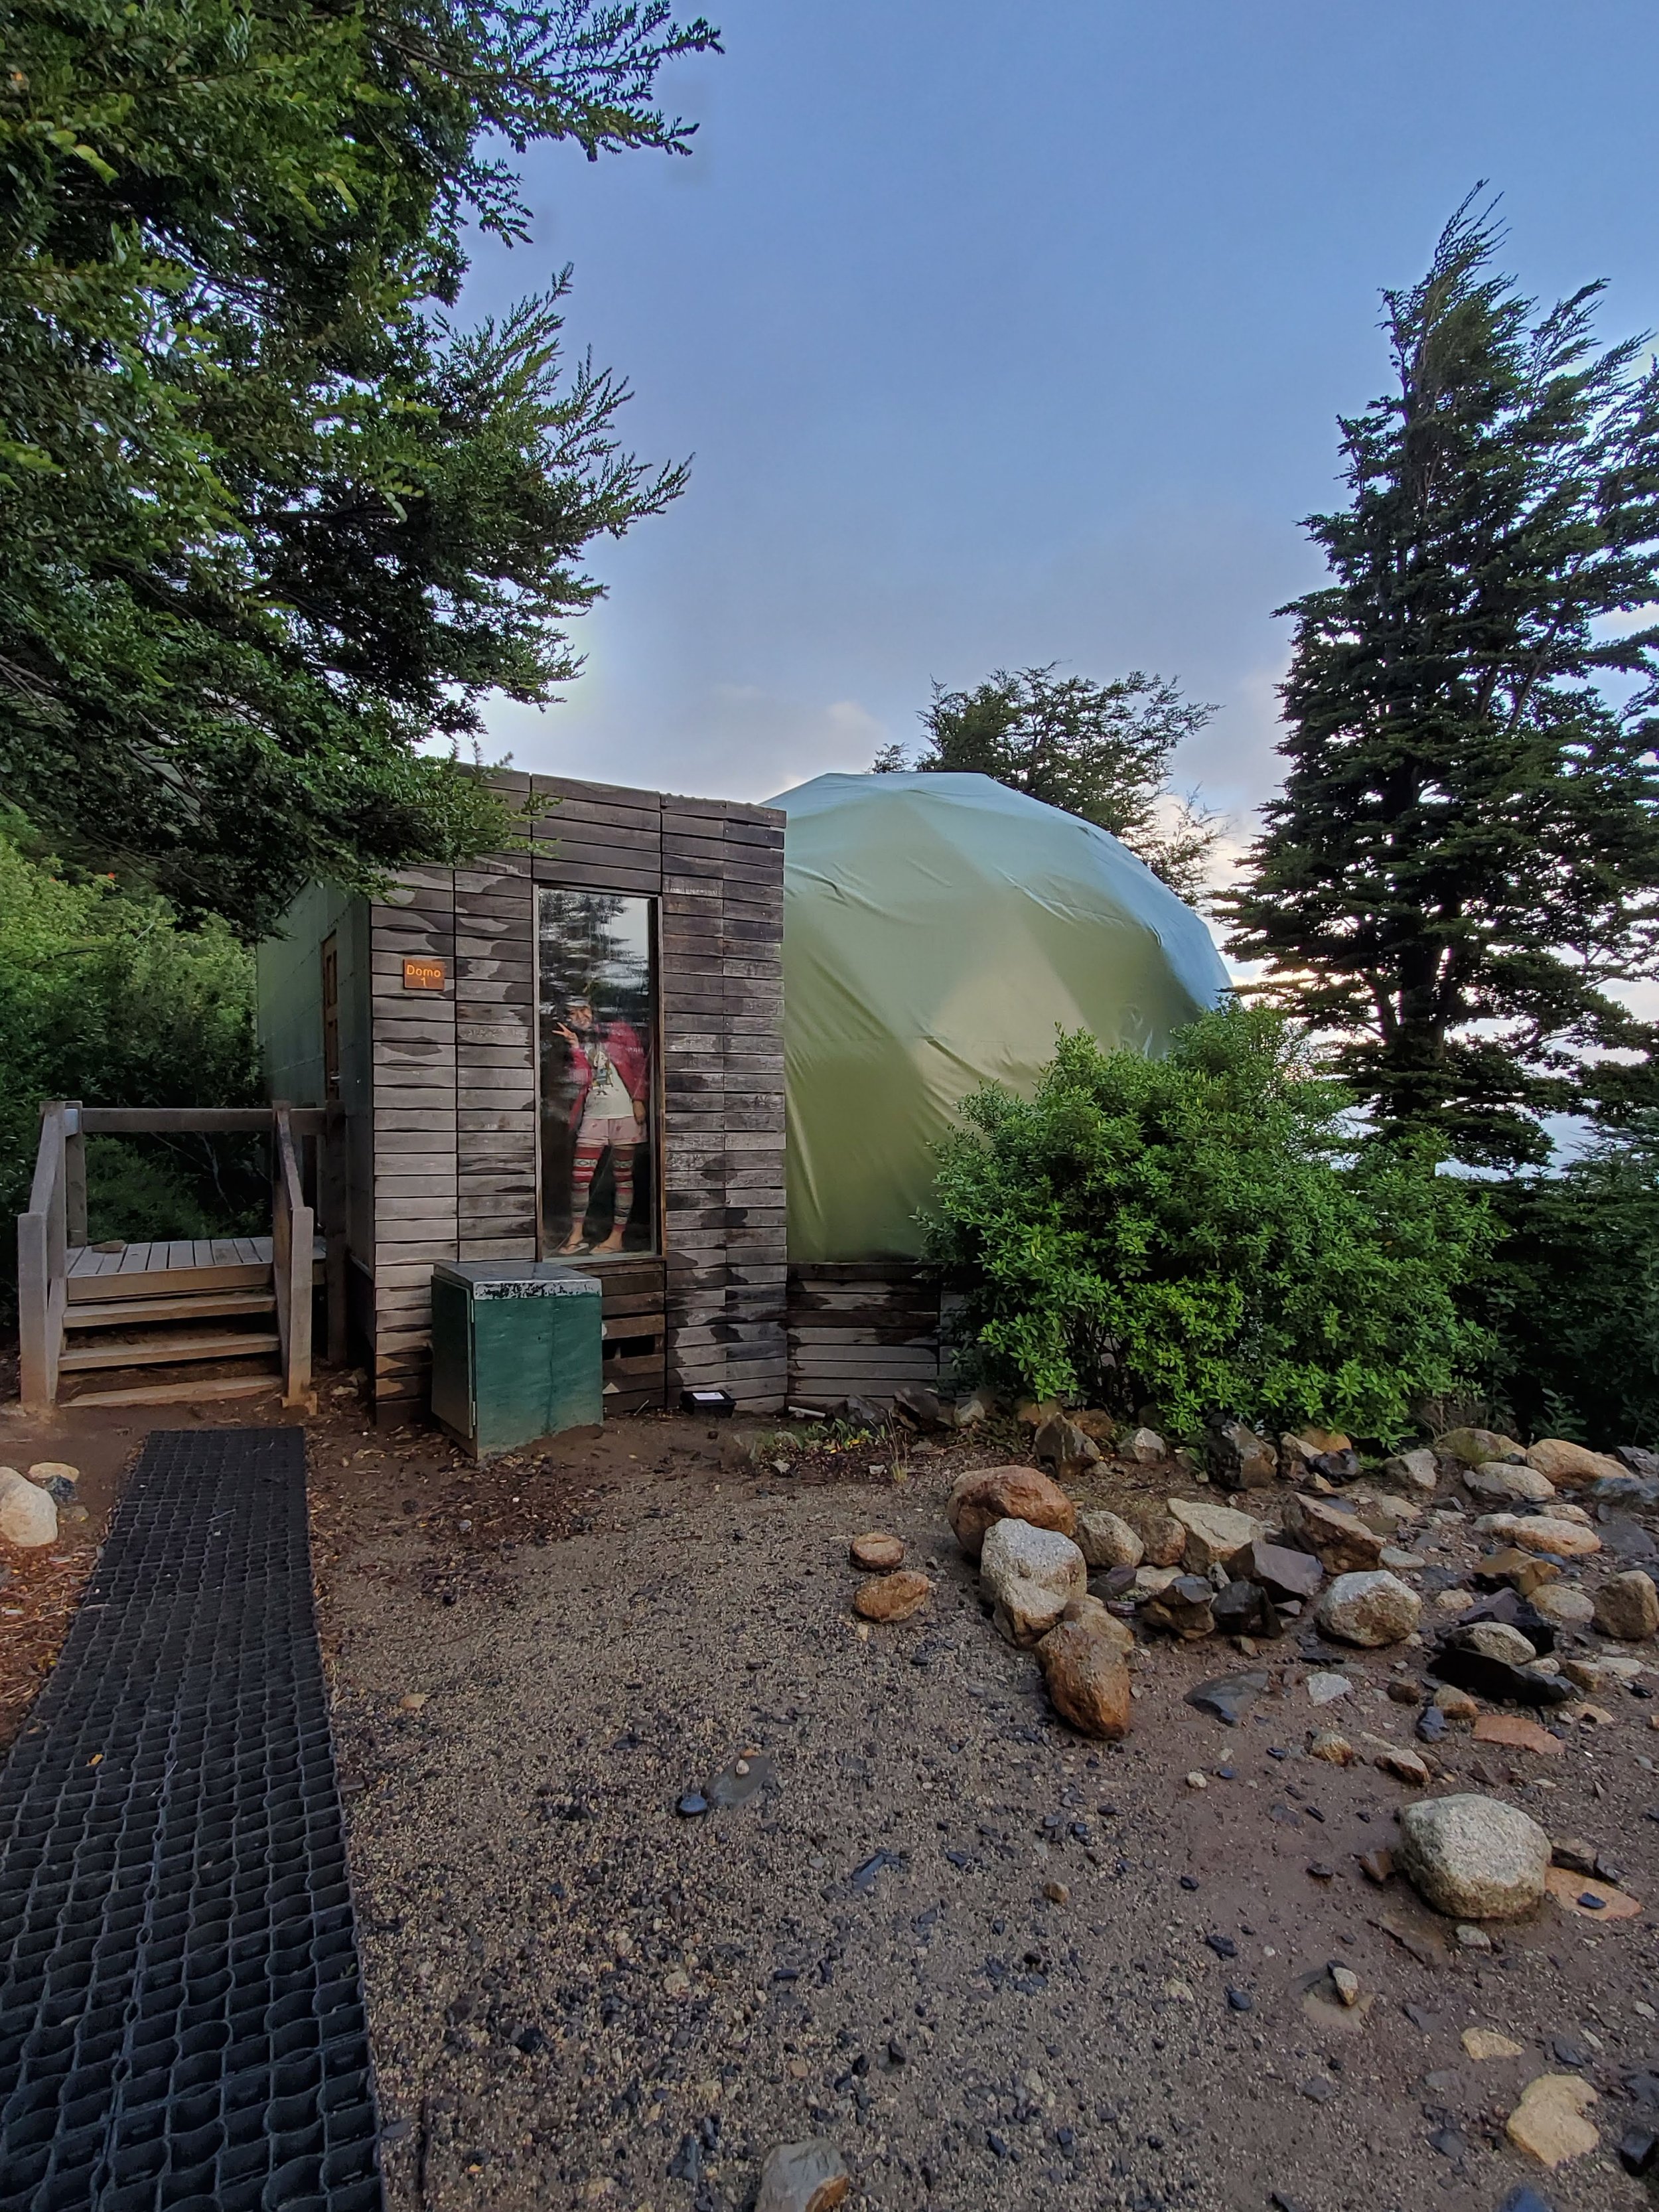
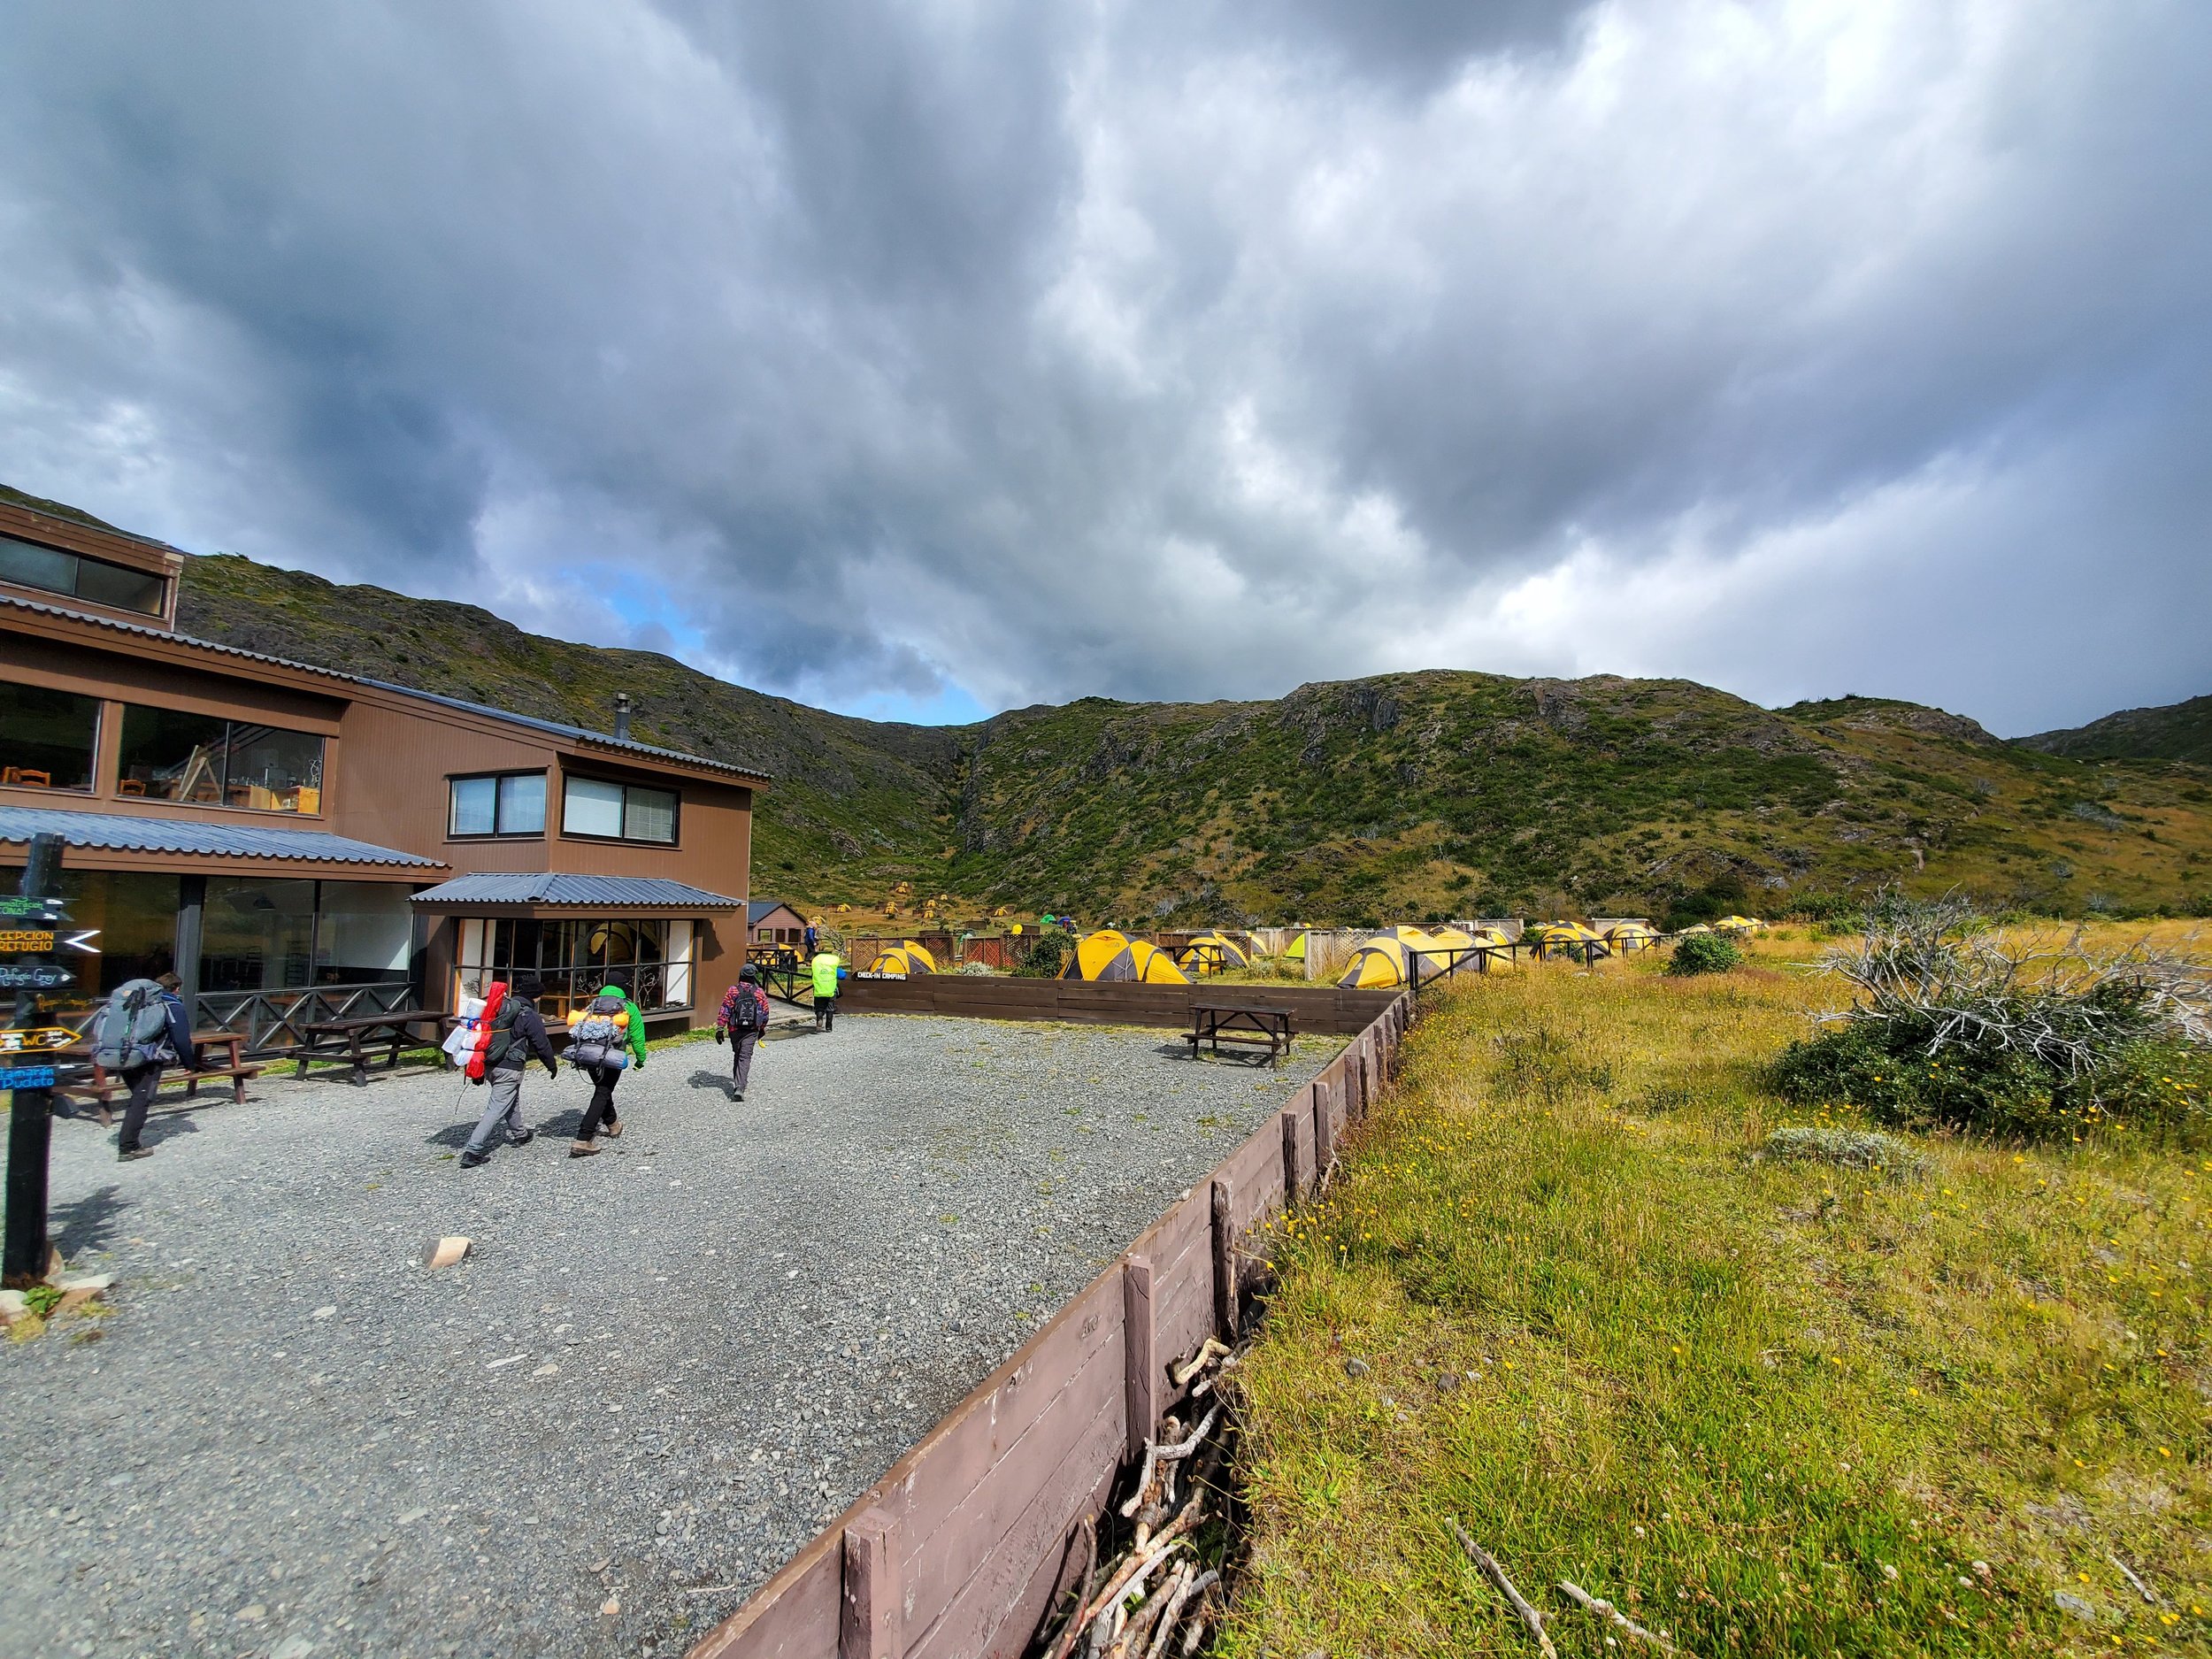
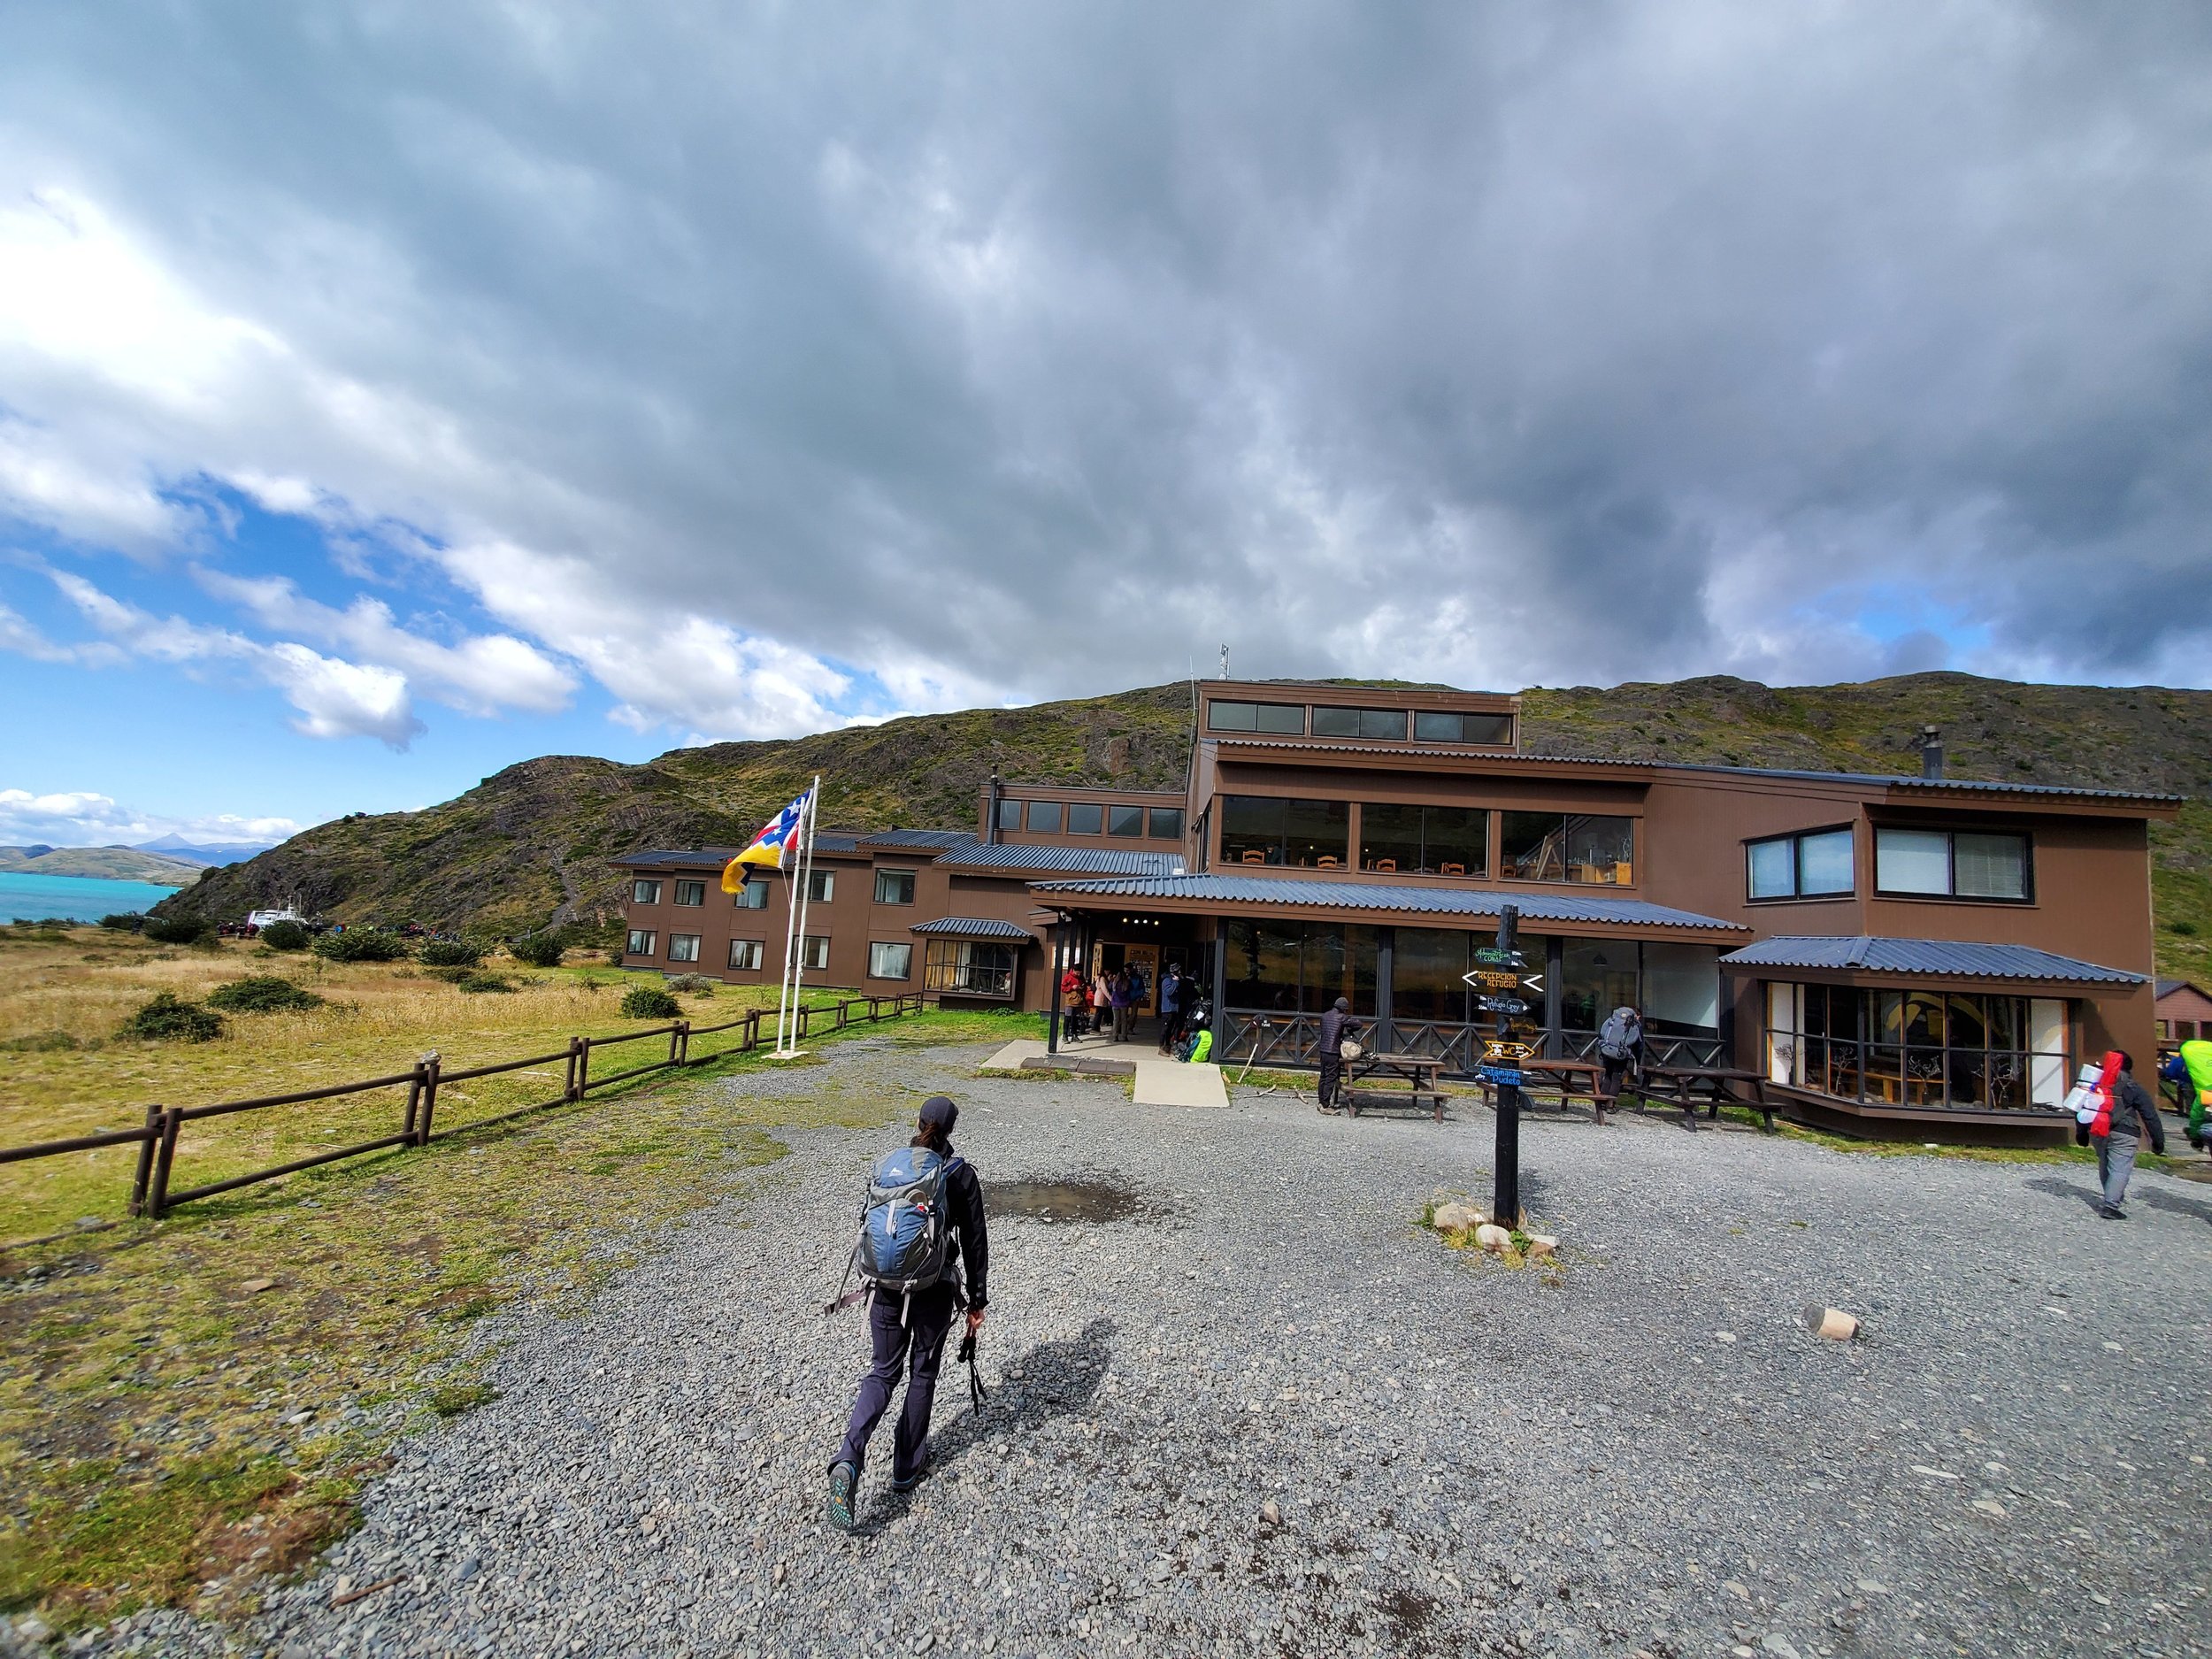
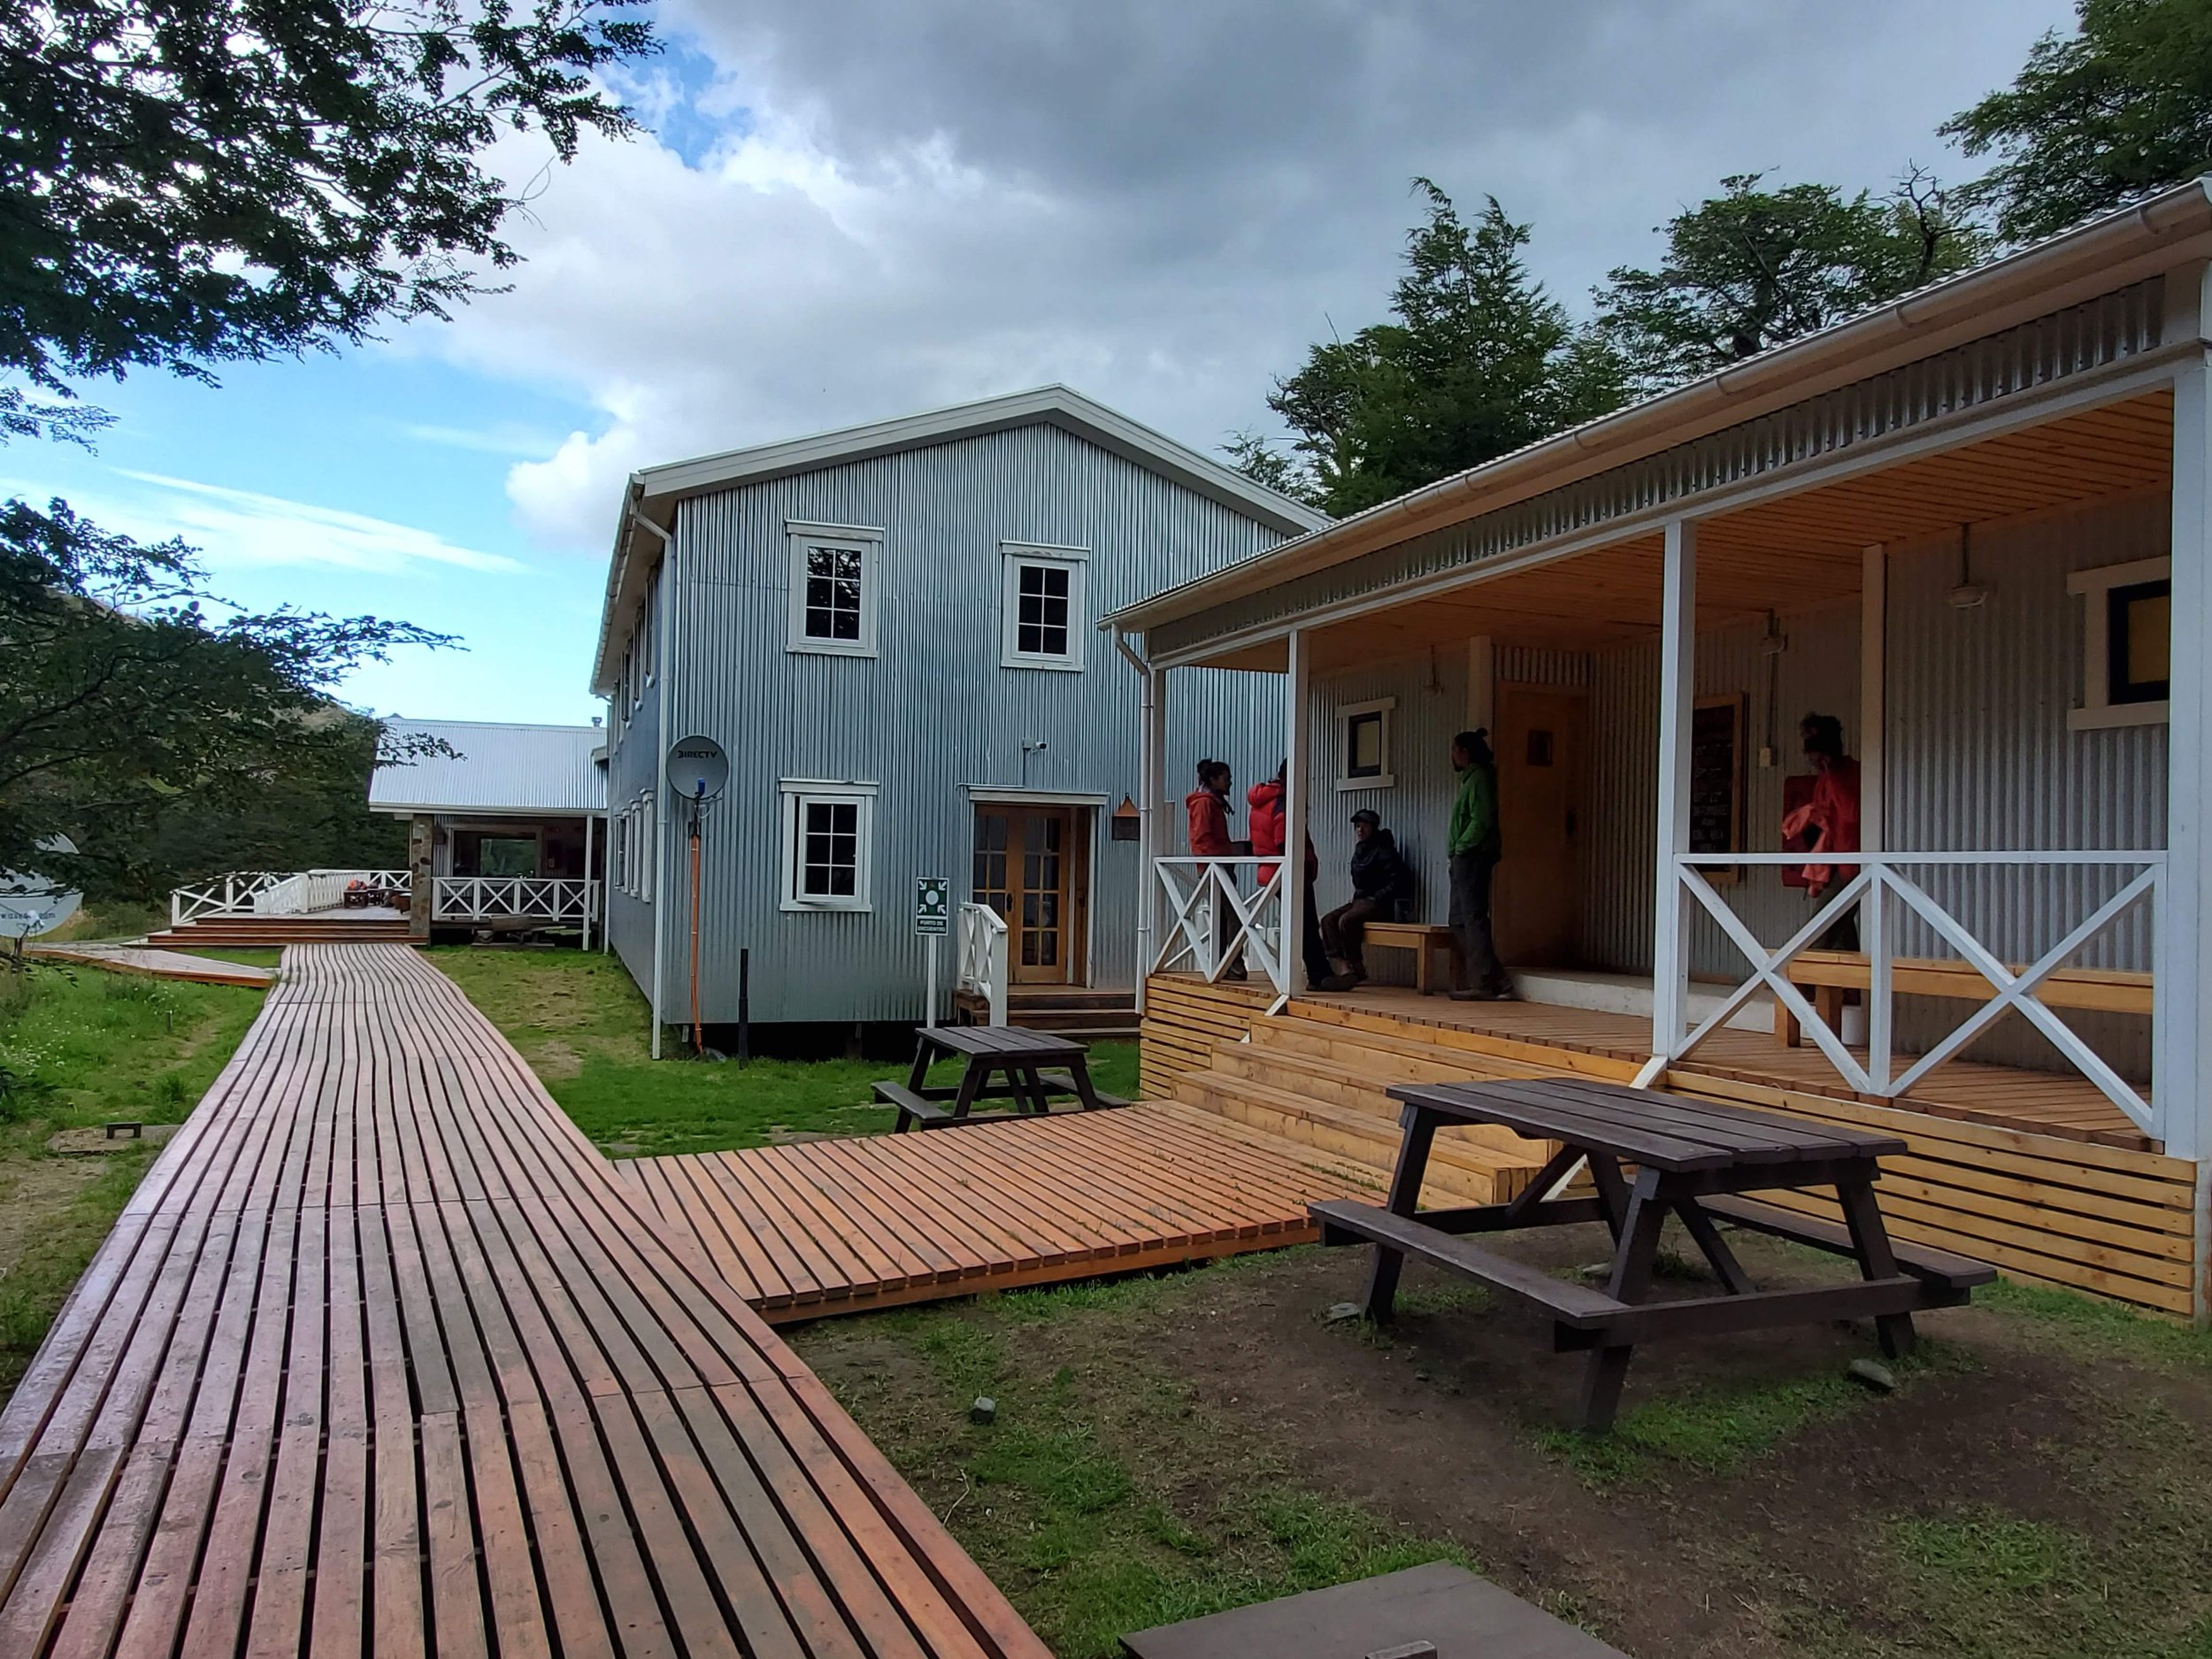
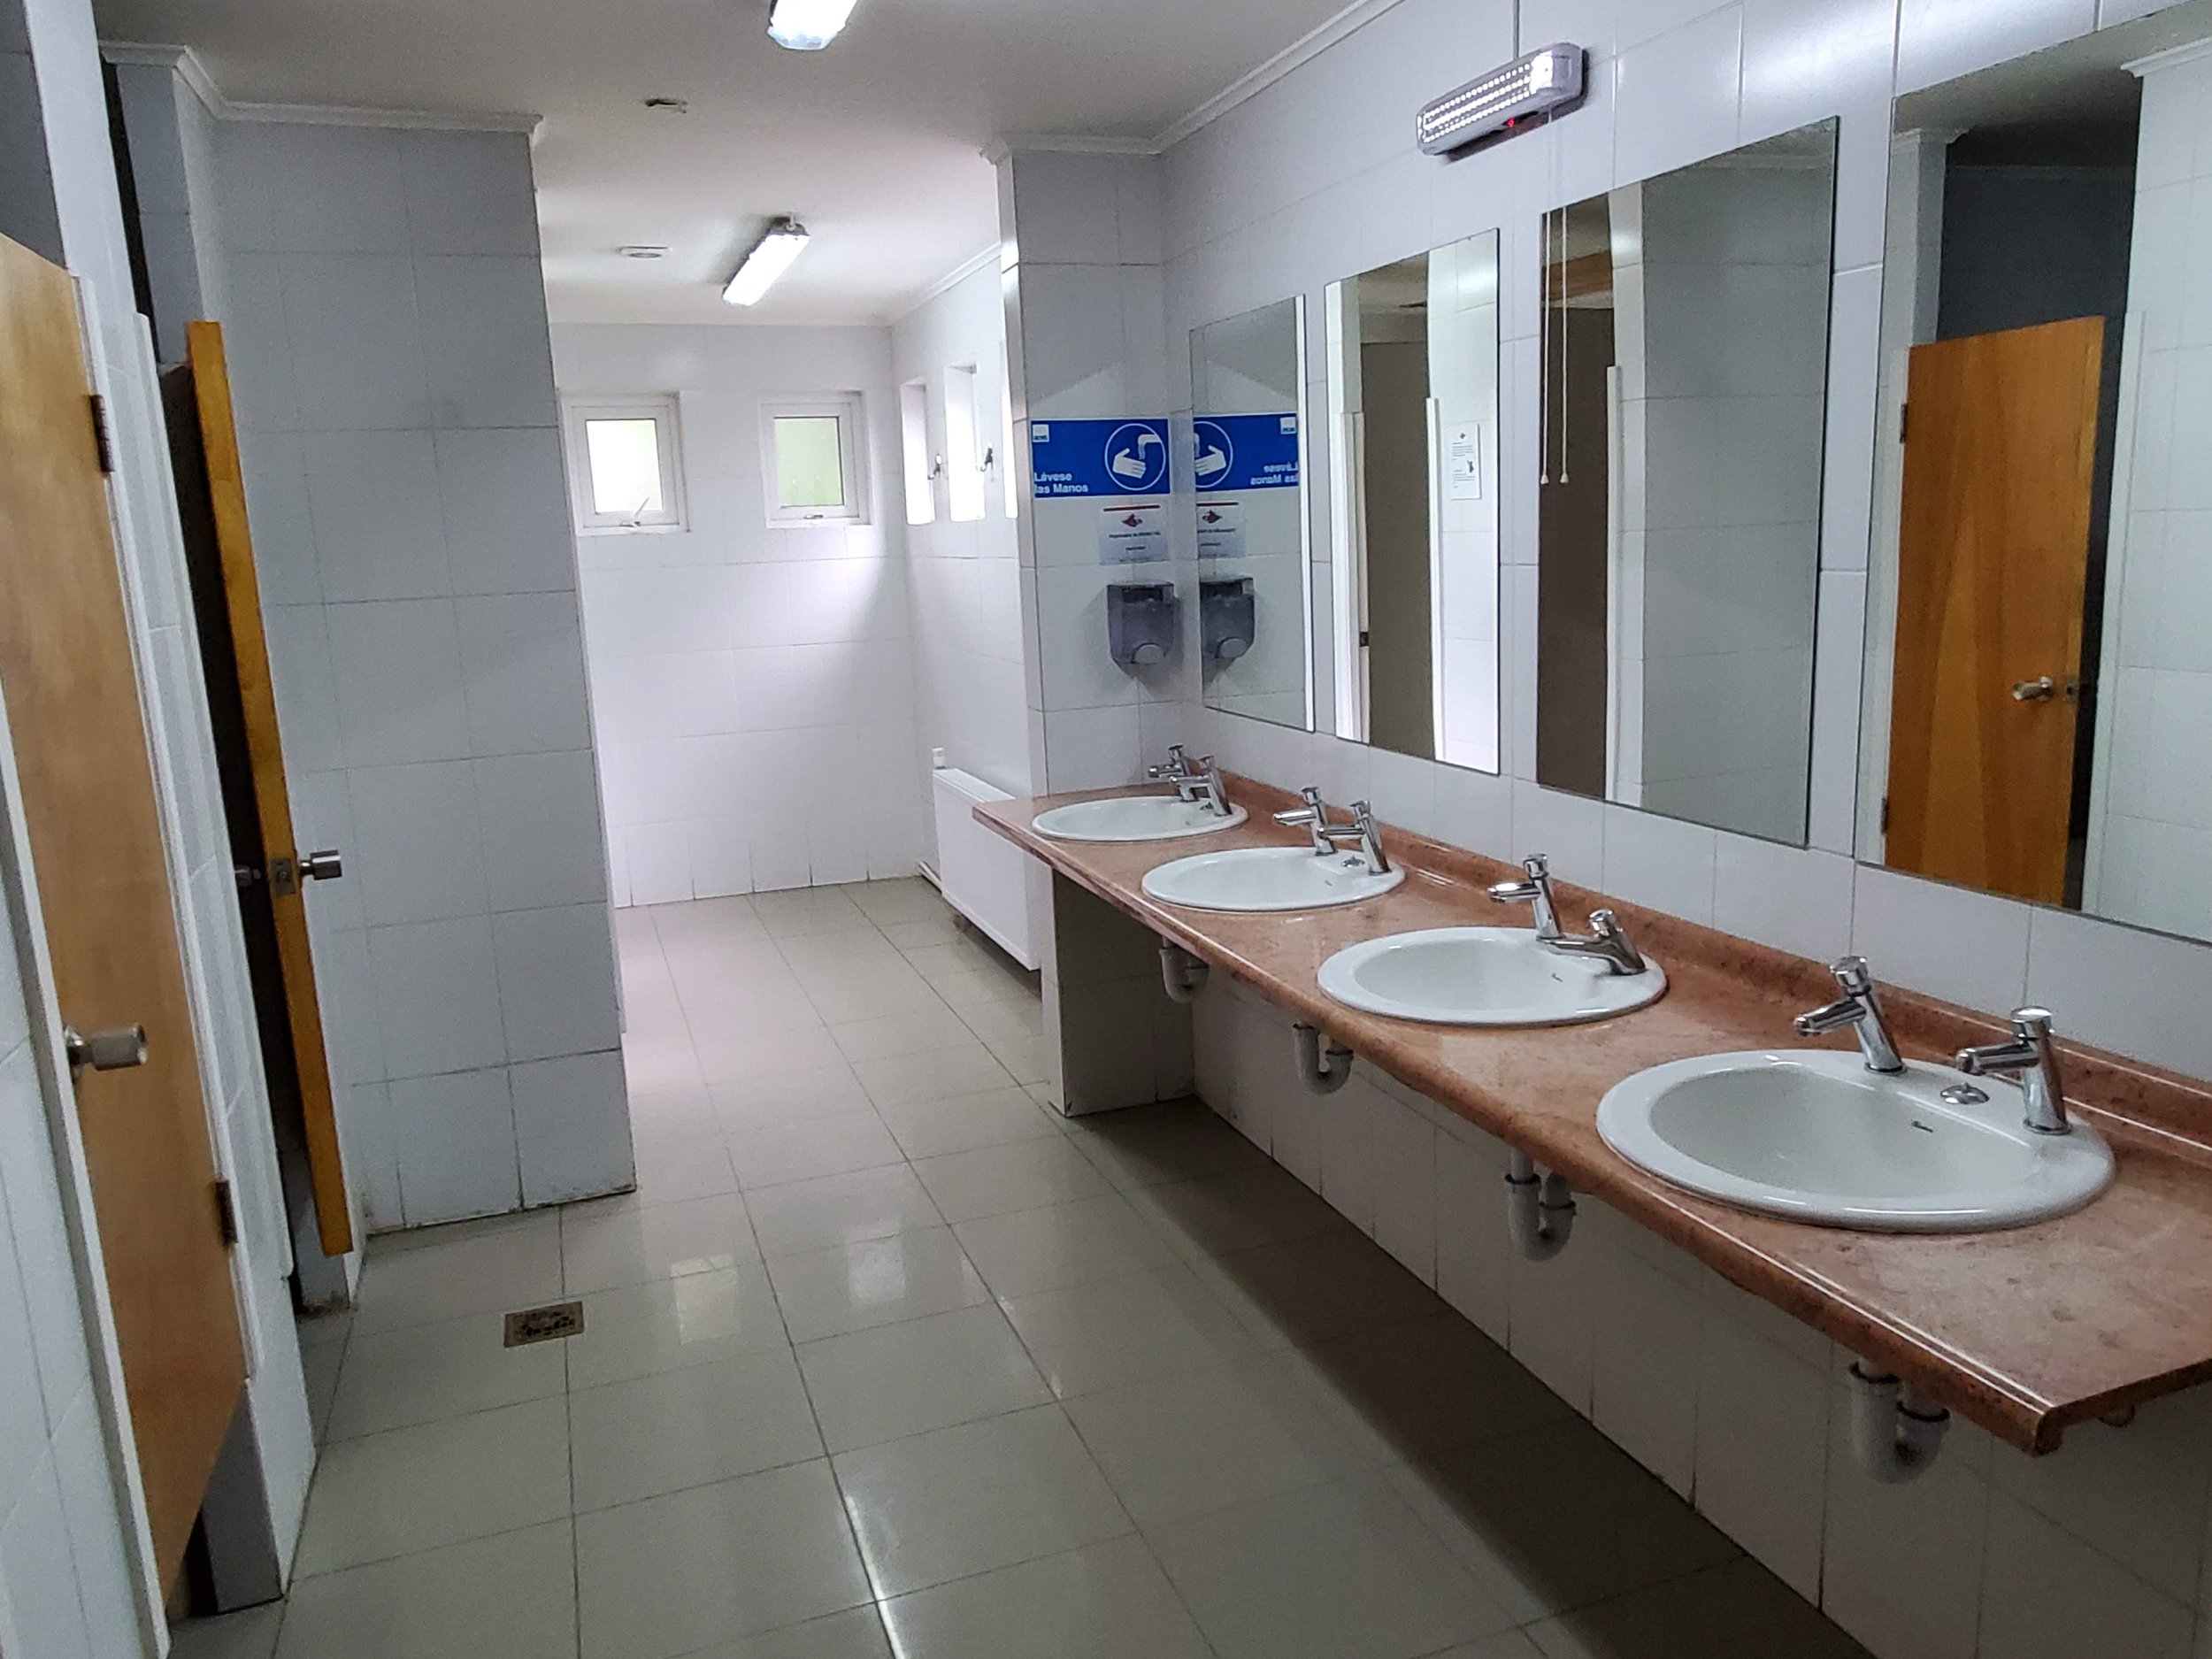
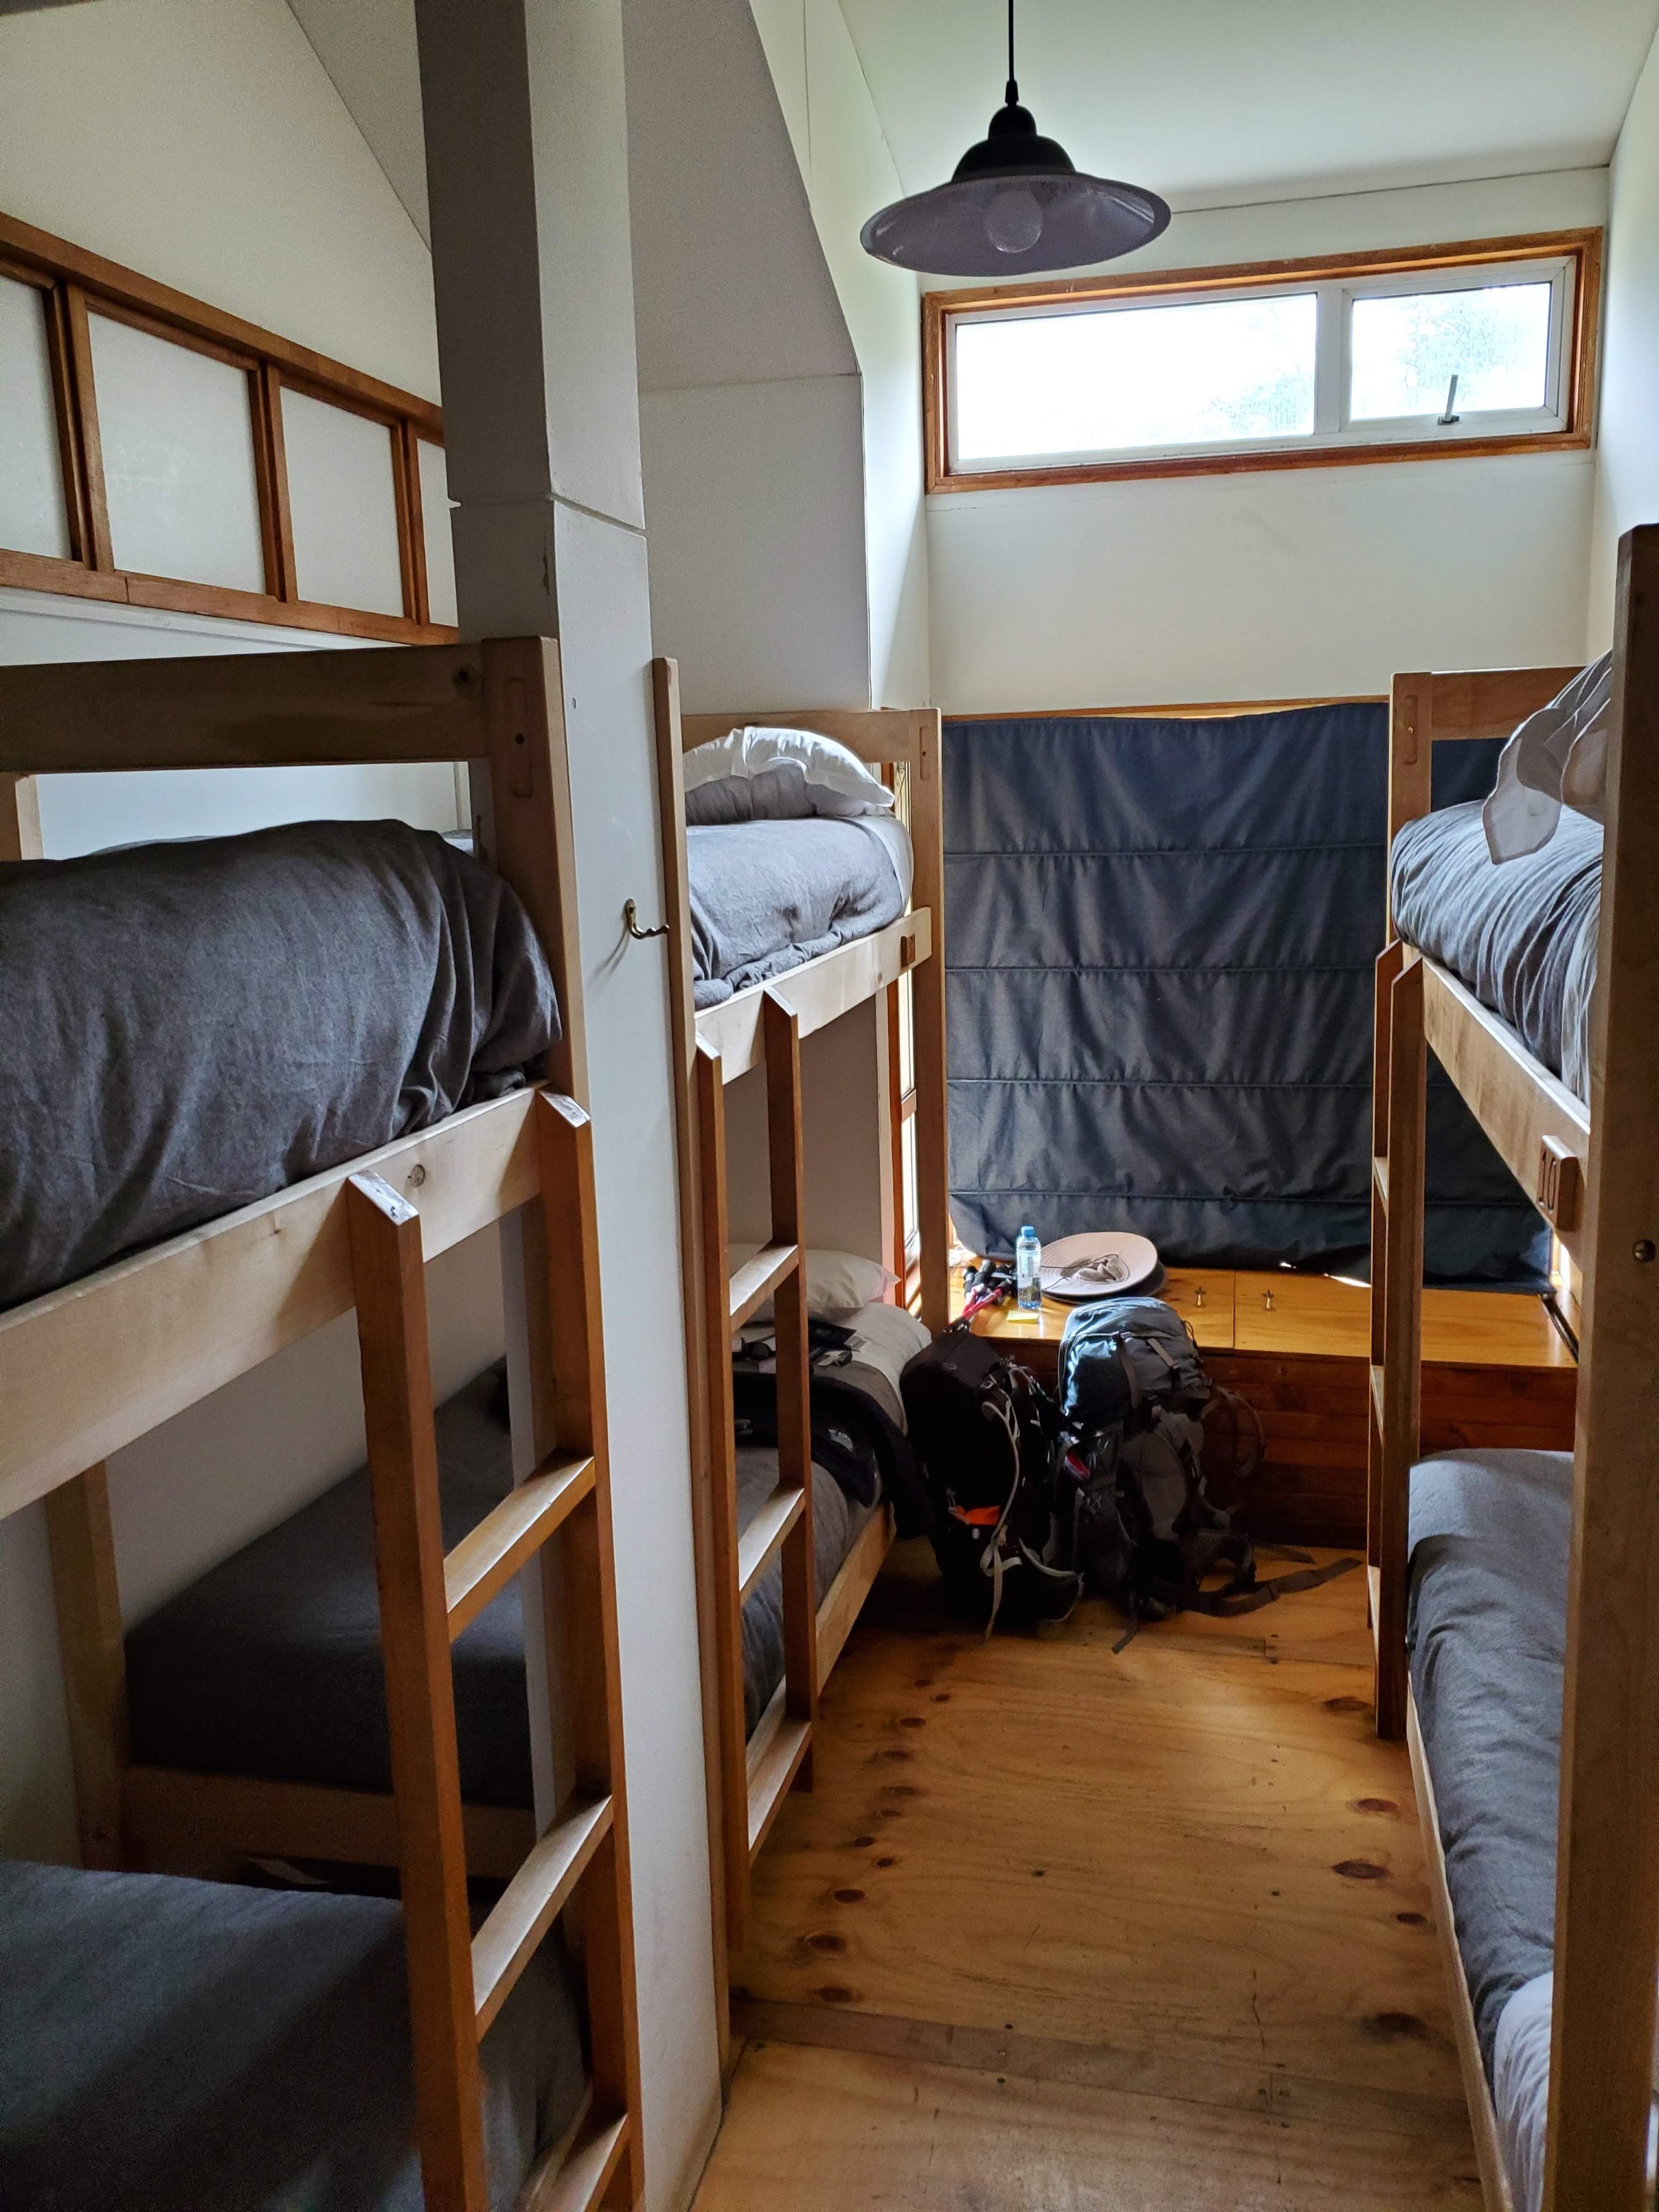
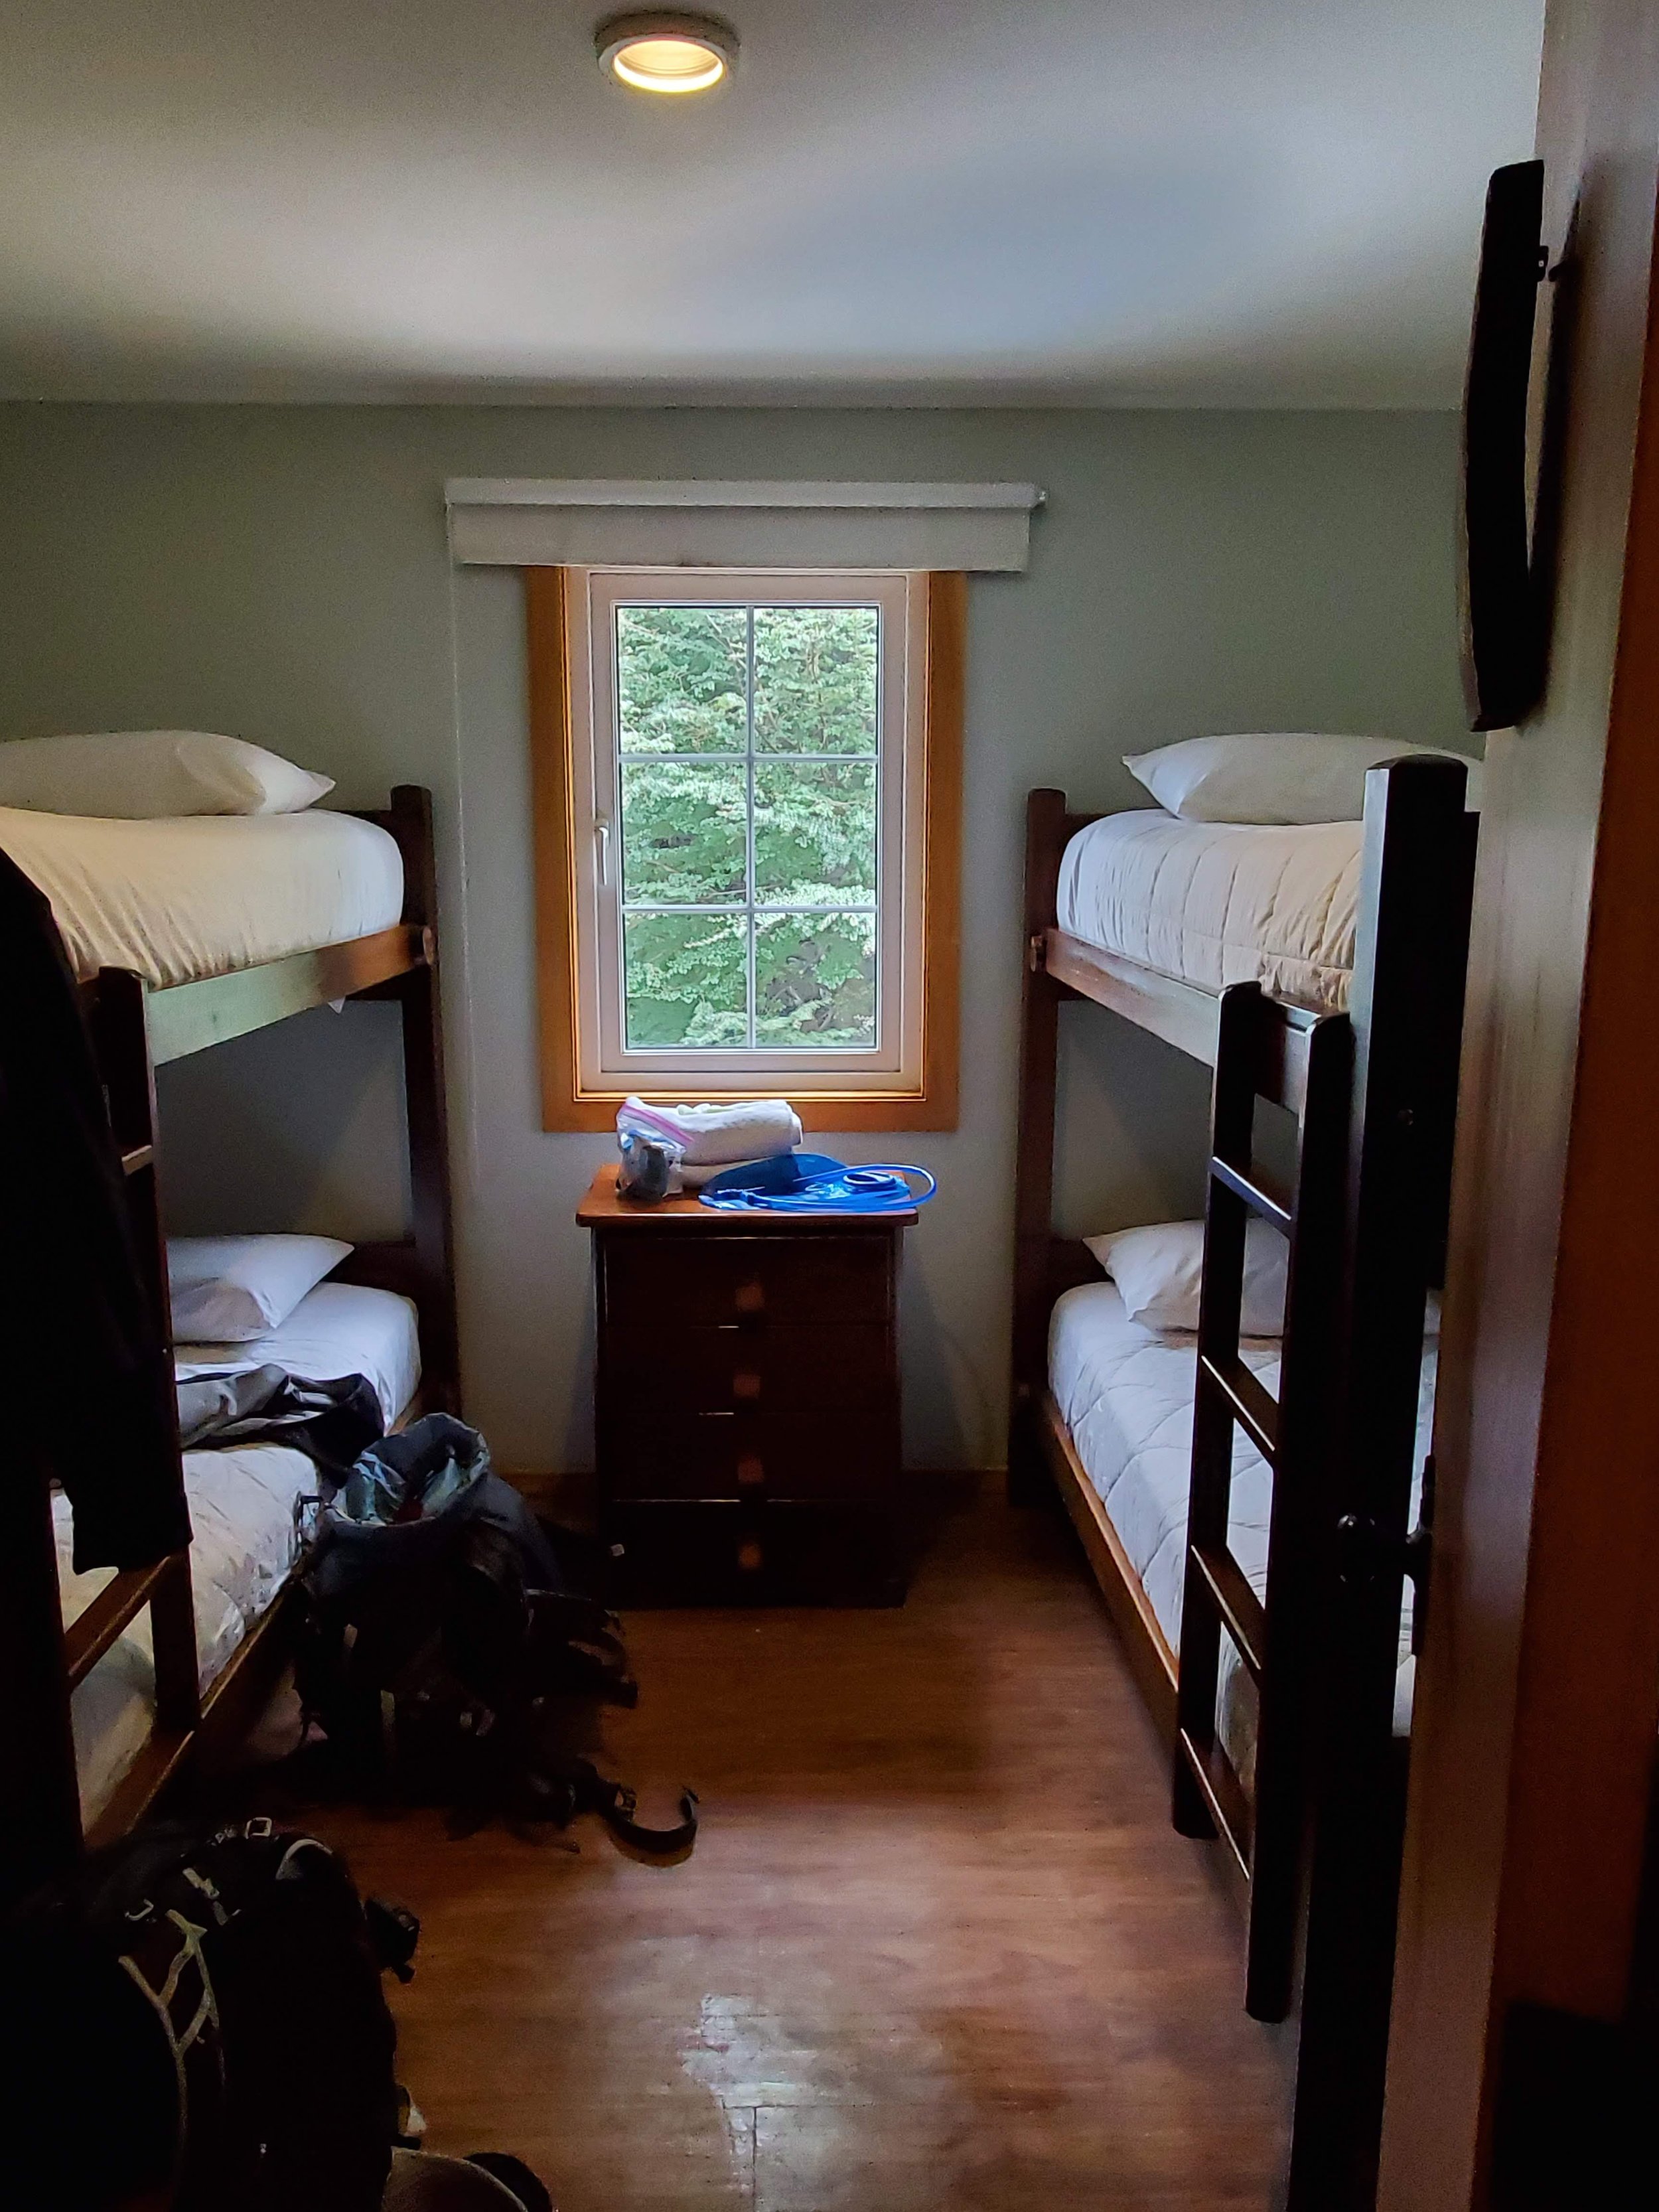
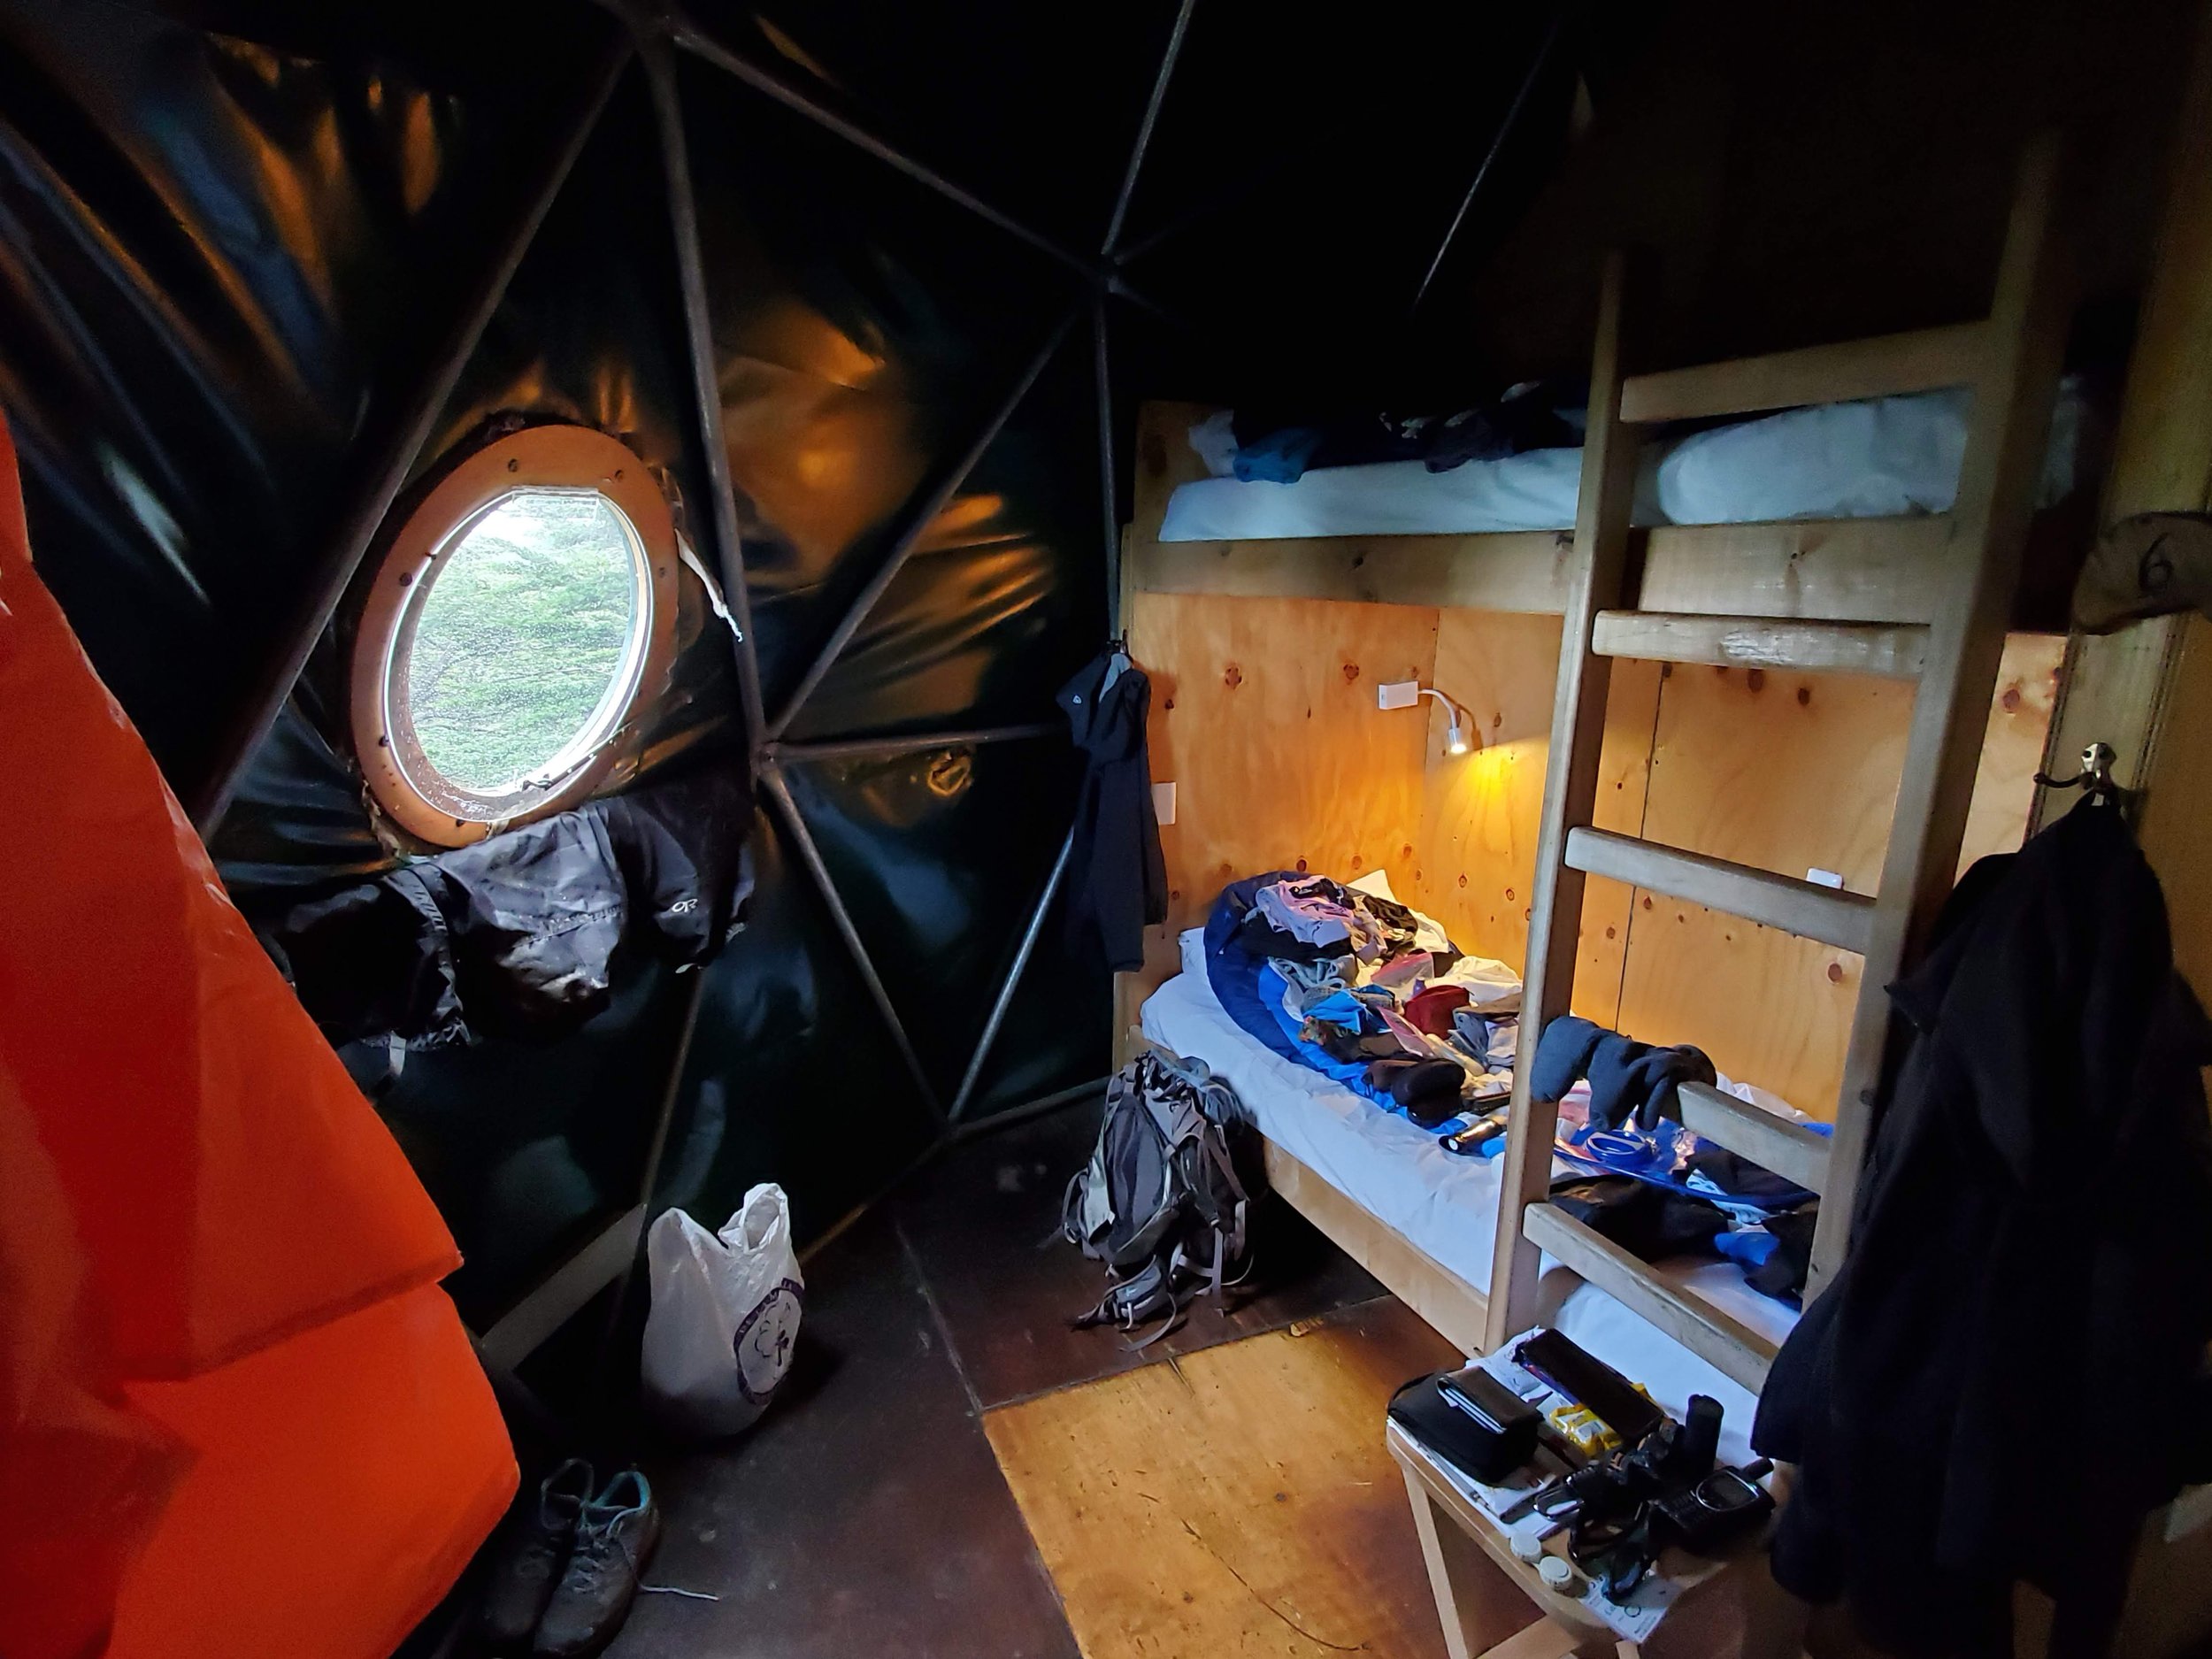
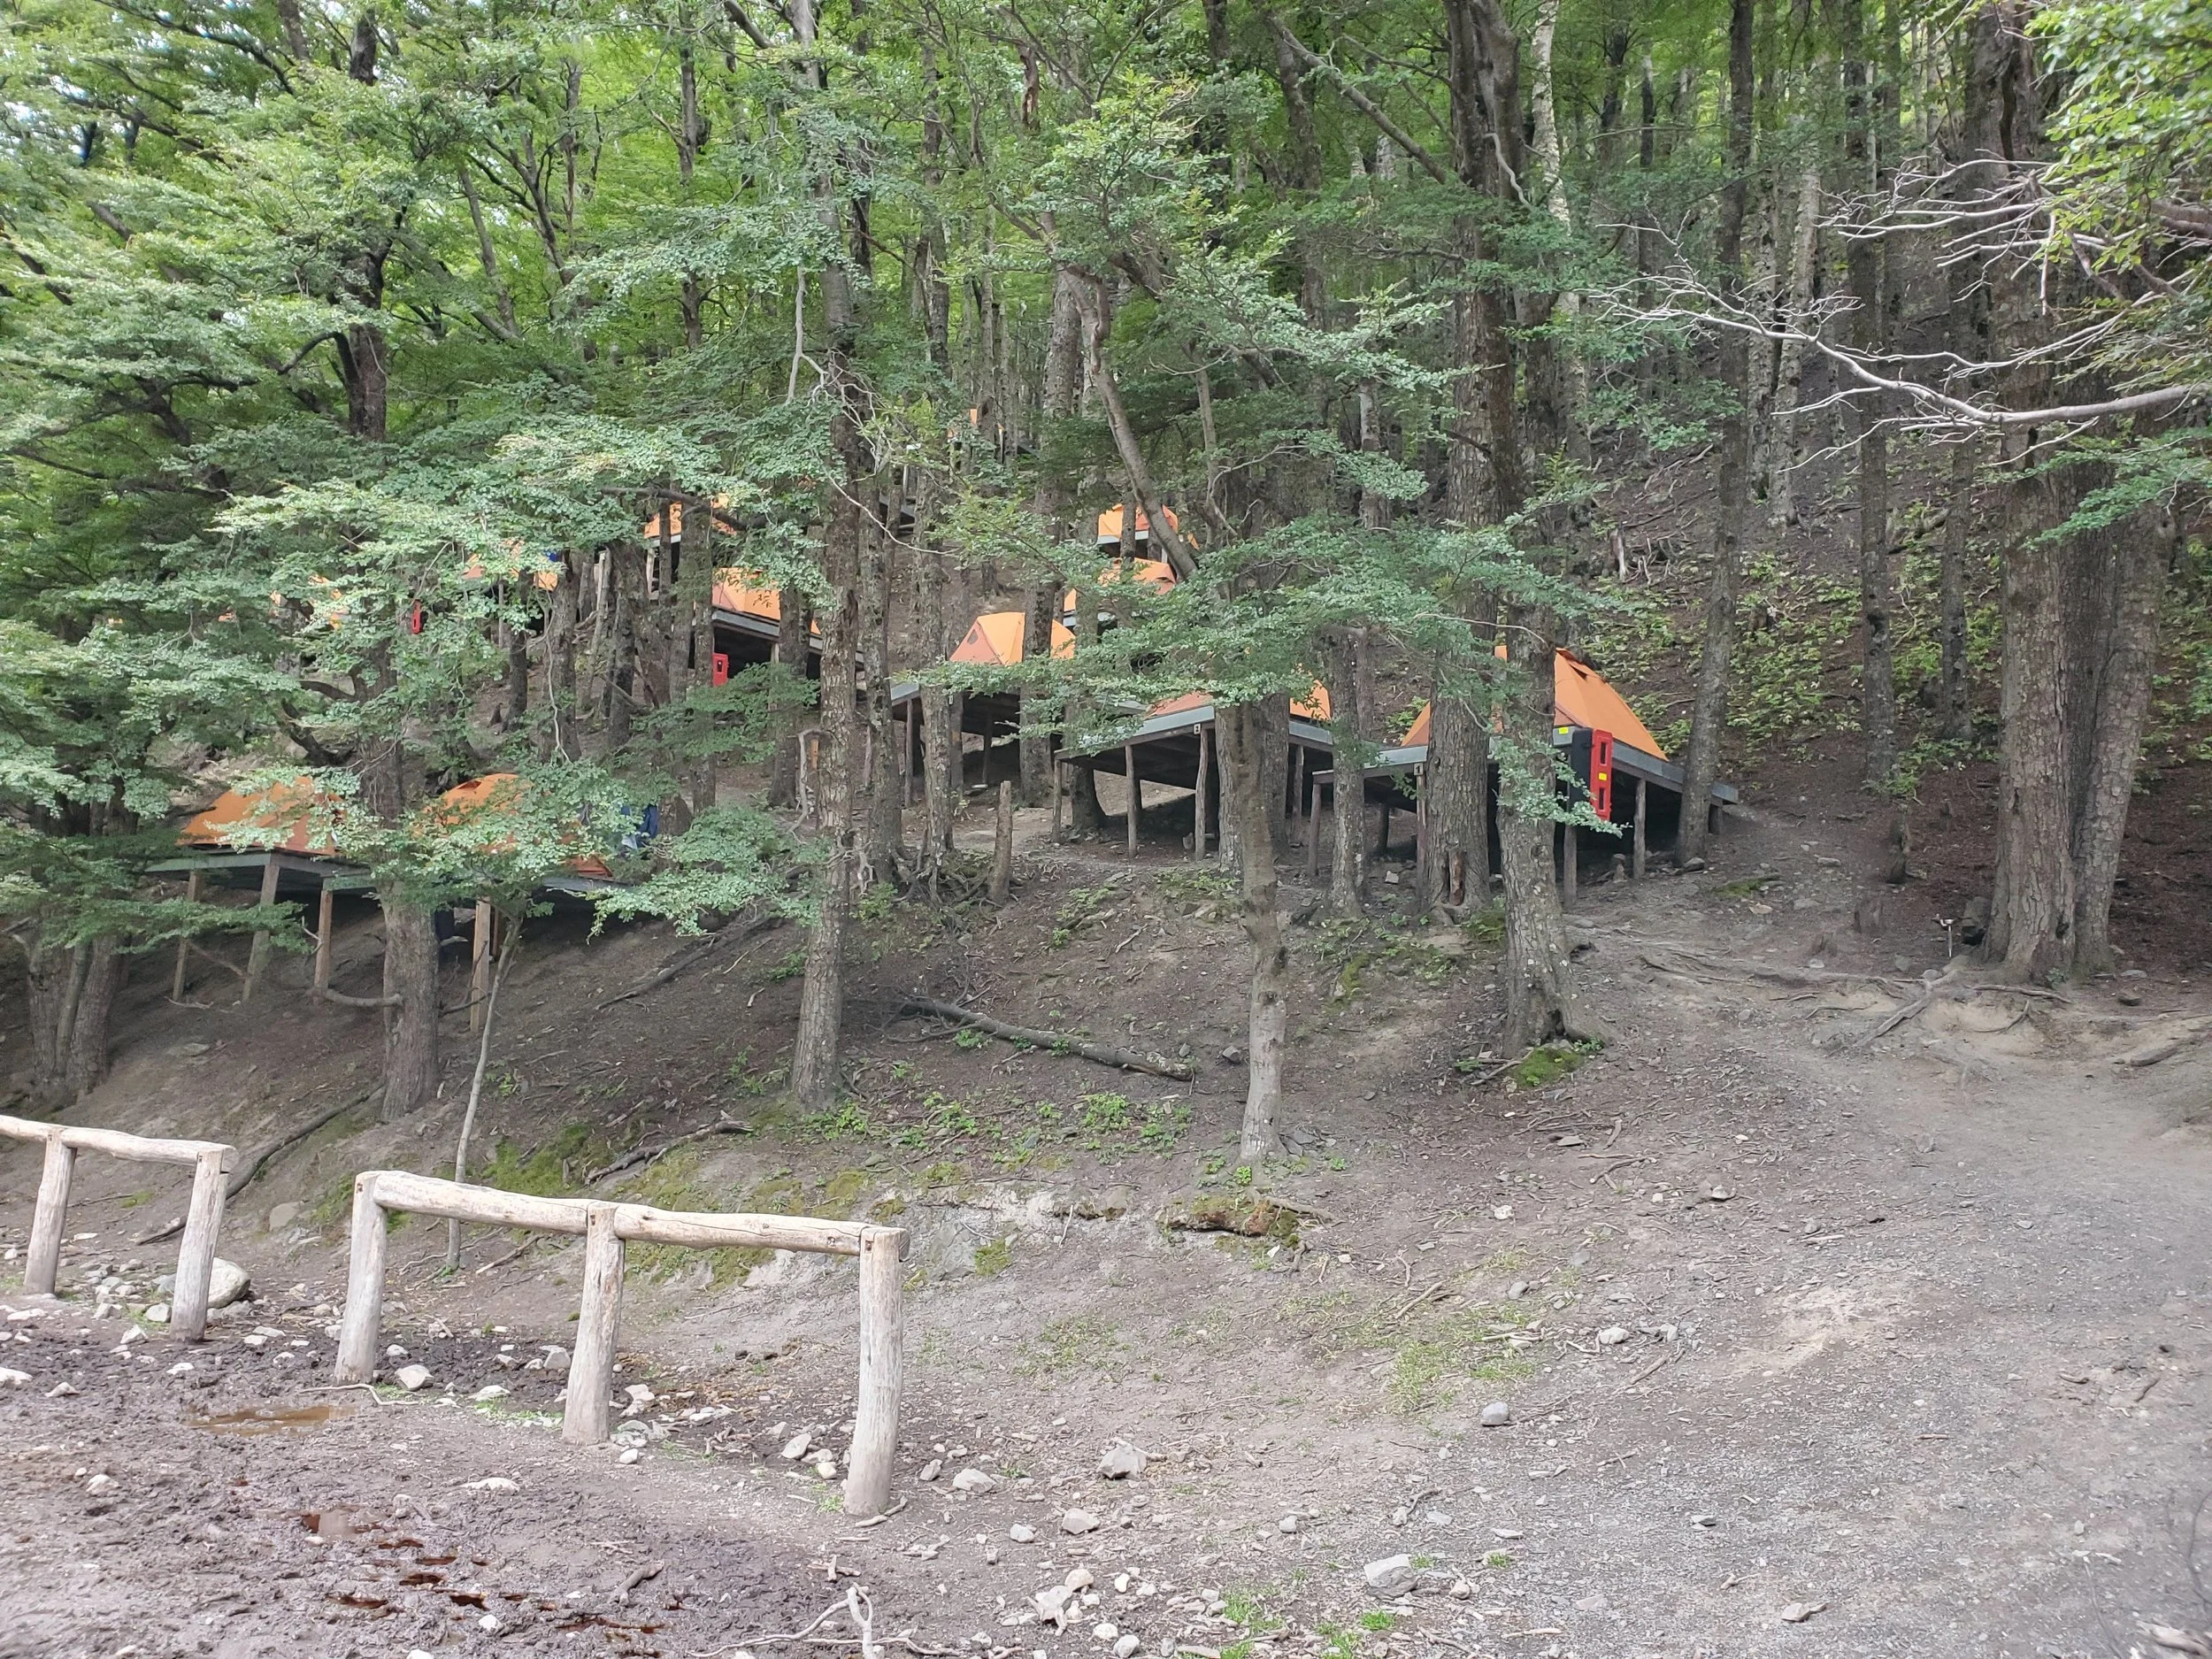
There are a couple of Refugios on the W Trek that have ONLY camping (no indoor lodging), but we opted for Refugios with indoor lodging and selected the shared bunk rooms. Below are some photos of sample campsites, shared bunk rooms, and dining halls. We would recommend spending 5, if not 6 nights in the park (which means arranging 5-6 nights at a Refugio), if you plan to hike the W Trek.
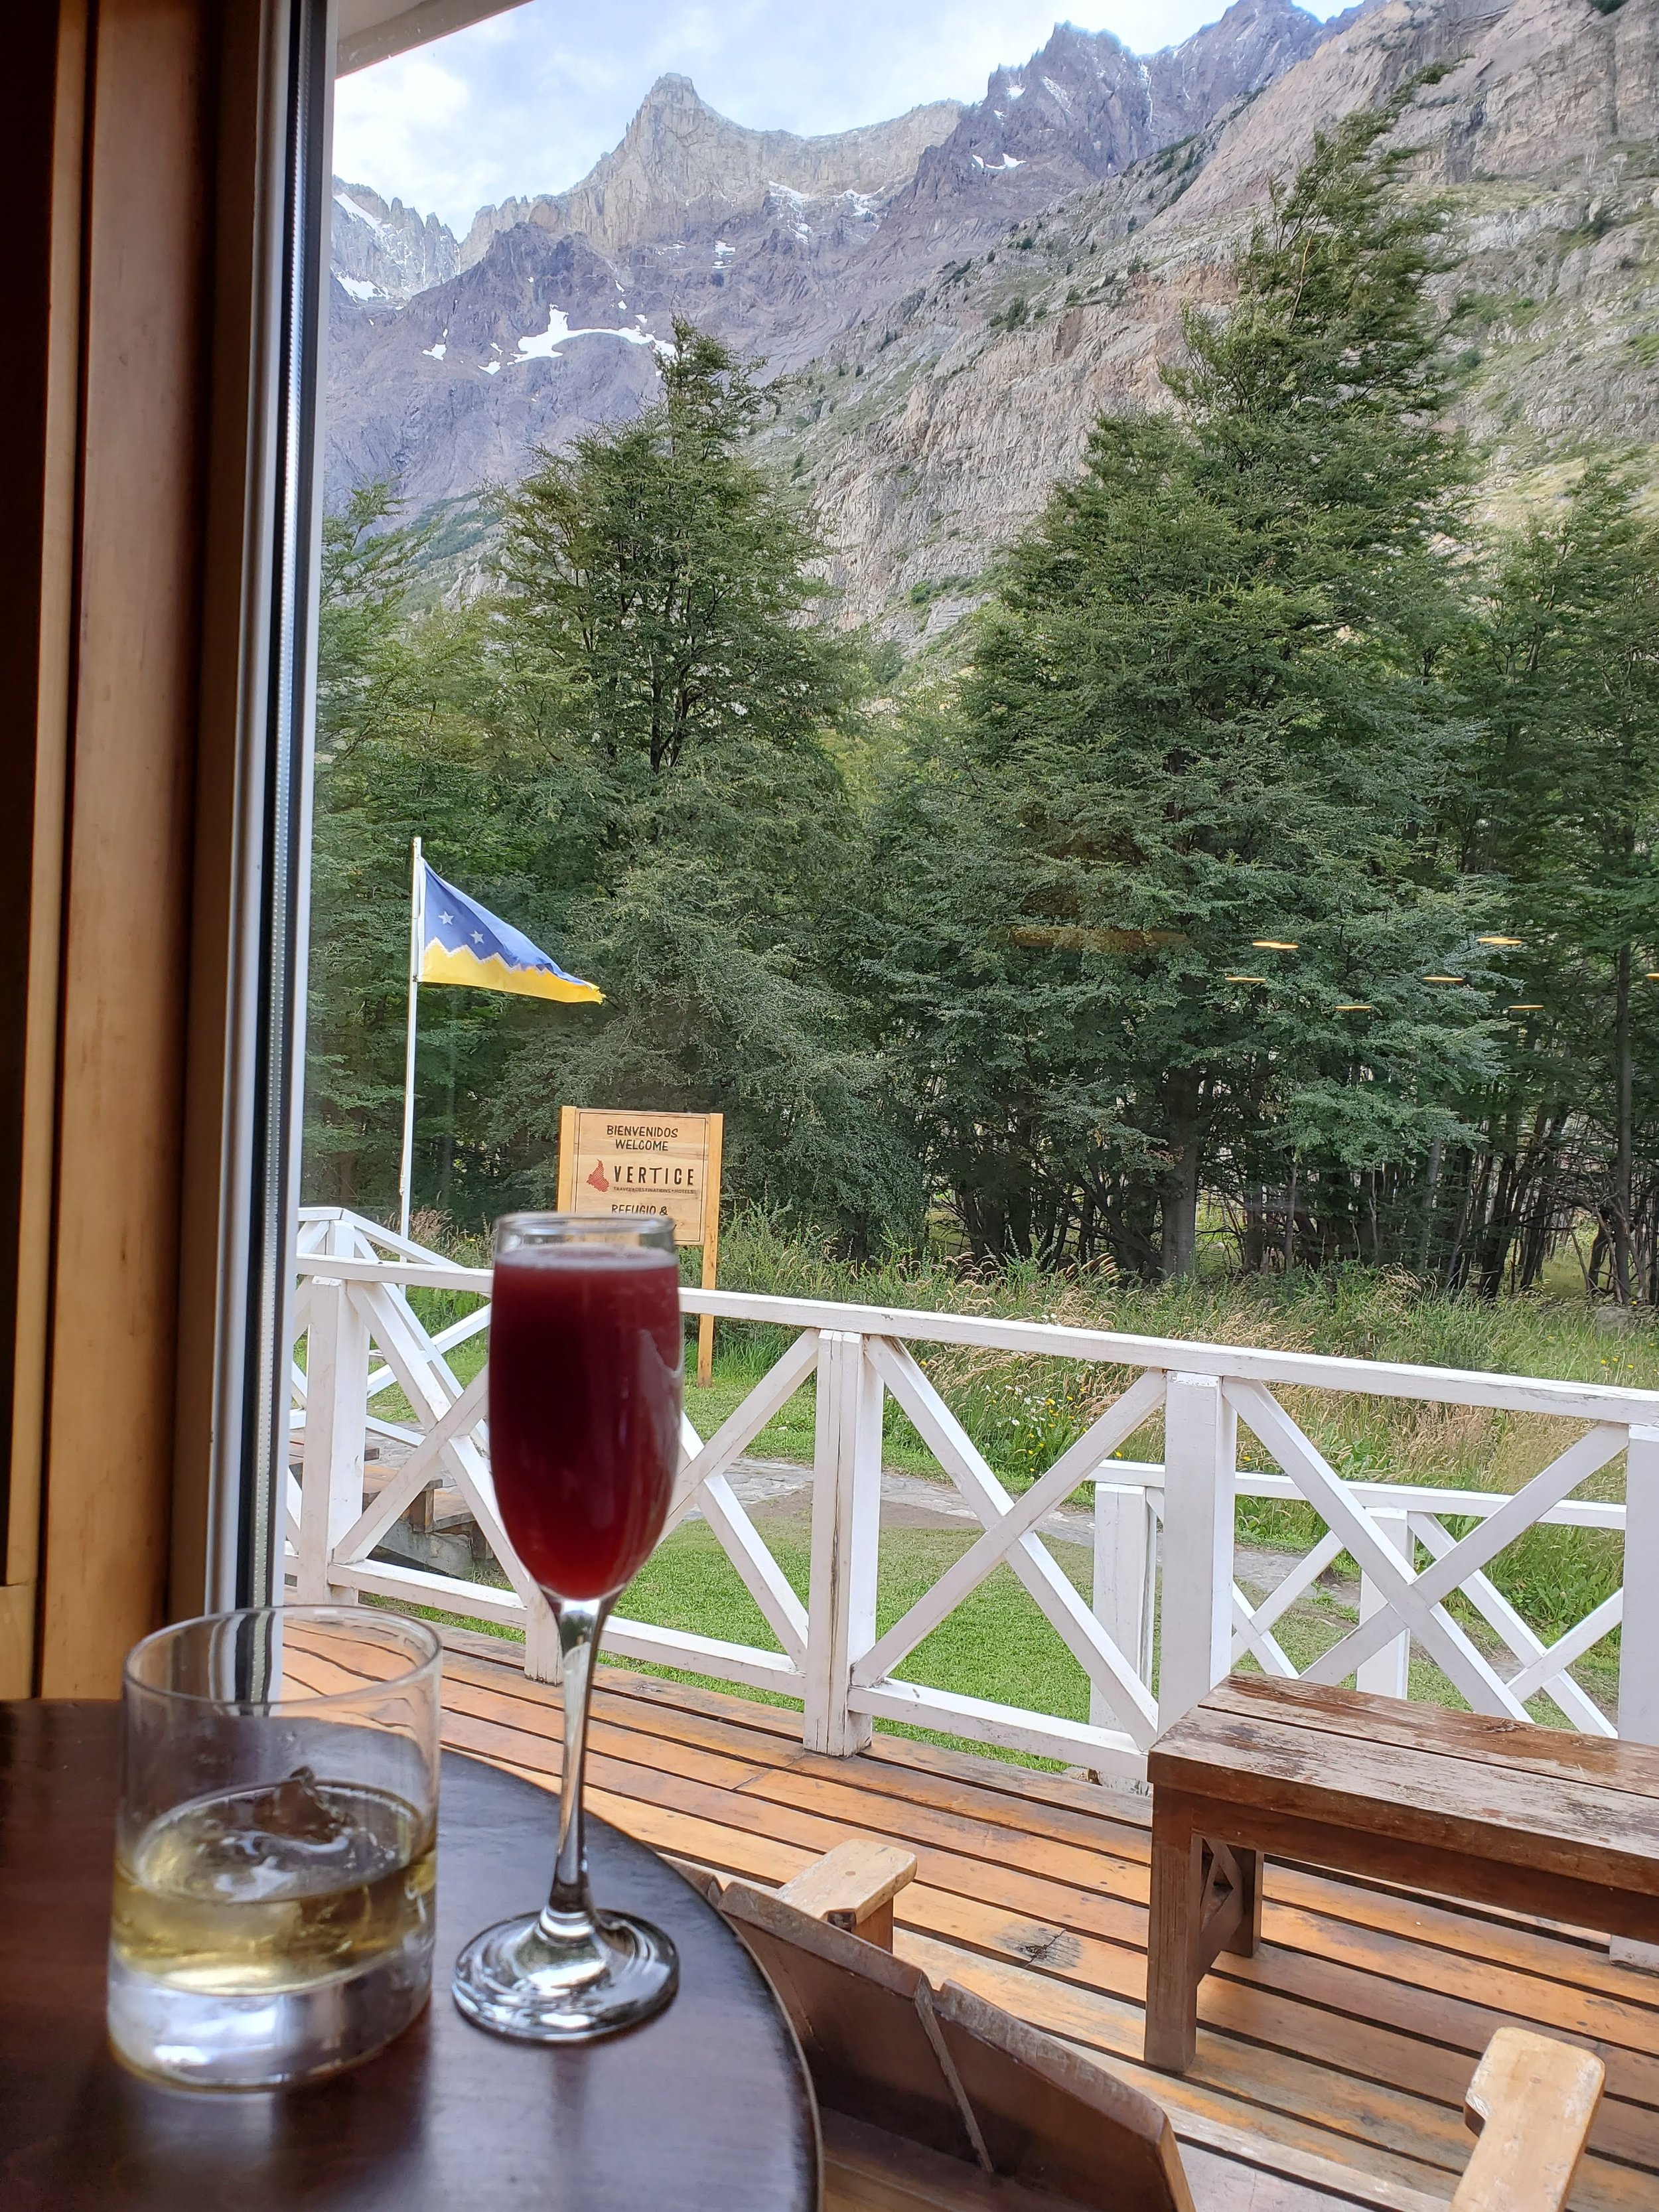
There are a couple hotels within the park, which would be functional if you’re just planning some day hikes or wanted to use them on the front or back end of the W or O trek. They are priced considerably higher than Refugios.


Now it’s time to figure out how you want to “do” this W Trek…which direction do you want to hike (west-to-east or east-to-west) and how far do you want to hike each day? Each of these questions will dictate which Refugios you’re going to stay at, and on which days.
We chose to do the hike West-to-East. Here are the critical elements:
Day 1 - Drive + Arrive at Torres Del Paine National Park. Check into Torre Central Refugio. Many maps just say “Los Torres Hotel, Lodge, and Camping Zone” but this area has 2 Refugios…Torre Central and Torre Norte. Since we were arriving by car from El Calafate, we were too late to hike on our arrival day.
Day 2 - Shuttle + Bus + Ferry to Paine Grande. Hike to Refugio Gray for the night (6.7 miles)
Day 3 - Hike from Refugio Gray back through Paine Grande and onto Dome Francis Refugio (13.2 miles).
Day 4 - Hike from Dome Francis up the middle W spine to Britanico Lookout, then back down the spine, past Dome Francis, and on to Refugio Chileno (20+ miles because we missed the cutoff).
Day 5 - Hike from Chileno up to Mirador Las Torres (the 3 famous towers with beautiful lake beneath), and then back down to Torre Norte (about 100 yards from Torre Central where we’d stayed the first night) (8.5 miles)
Day 6 - Leave the park and continue on our adventure, heading back into Argentina to El Chalten.
If we were to do this Trek again, we would go East-to-West, and split up our Day 4 (20+ miles) into 2 days. Here is a sample itinerary, with estimated miles included:
Day 1 - Drive + Arrive at Torres Del Paine National Park. Check into Torre Central or Torre Norte and enjoy chatting with other hikers, check the weather, and prepare gear for the next day.
Day 2 - Hike to Las Torres (aka Mirador Las Torres), and then hike back down to Refugio Chileno for dinner and staying the night (8.5 miles). You can drop your pack there on the way up to the towers to lighten your load!
Day 3 - Hike from Chileno to Dome Francis Refugio using the shortcut (don’t go all the way down to Hotel Las Torres or Torre Central!) (13.5 miles)
Day 4 - Hike from Dome Francis up to Britanico Lookout, and then onward to Paine Grande Refugio. (12.5 miles)
Day 5 - Hike from Paine Grande Refugio to Refugio Grey for the night. (6.9 miles) If you’re feeling up to it, hike the extra mile or so (each way) to the Grey Glacier Lookout!
Day 6 - Hike from Refugio Grey back to Paine Grande (6.9 miles), to catch the Ferry, to the Bus, to the Shuttle back to your car. Depart for Puerto Natales (if that is your destination) OR stay another night and leave in the morning if you have a longer drive ahead.
Once you’ve picked your path & where you want to stay for the night, it’s time to start looking at Refugio availability. A spreadsheet may be helpful…something like this:

In the sample spreadsheet above, arriving on Feb 1st wouldn’t work, because Dome Francis isn’t available for that 3rd night (February 3rd). Similarly, arriving on the 2nd wouldn’t work because multiple Refugios are unavailable on the nights you need them. If you arrived on Feb 3rd, however, you’d be good to book all of the nights you need, at the right Refugio.
Keep in mind that often availability does open back up for these Refugios. So it’s possible (we did this) you can check back daily, and another bed or two may open up on the night you need it.
Notice in the spreadsheet that not all of the Refugios are managed by 1 company. Here are the links to the 2 different Refugio Management companies for these particular Refugios. Depending on whether your browser is translating the website for you, the Refugios might also be called Mountain Hostels or Shelters:
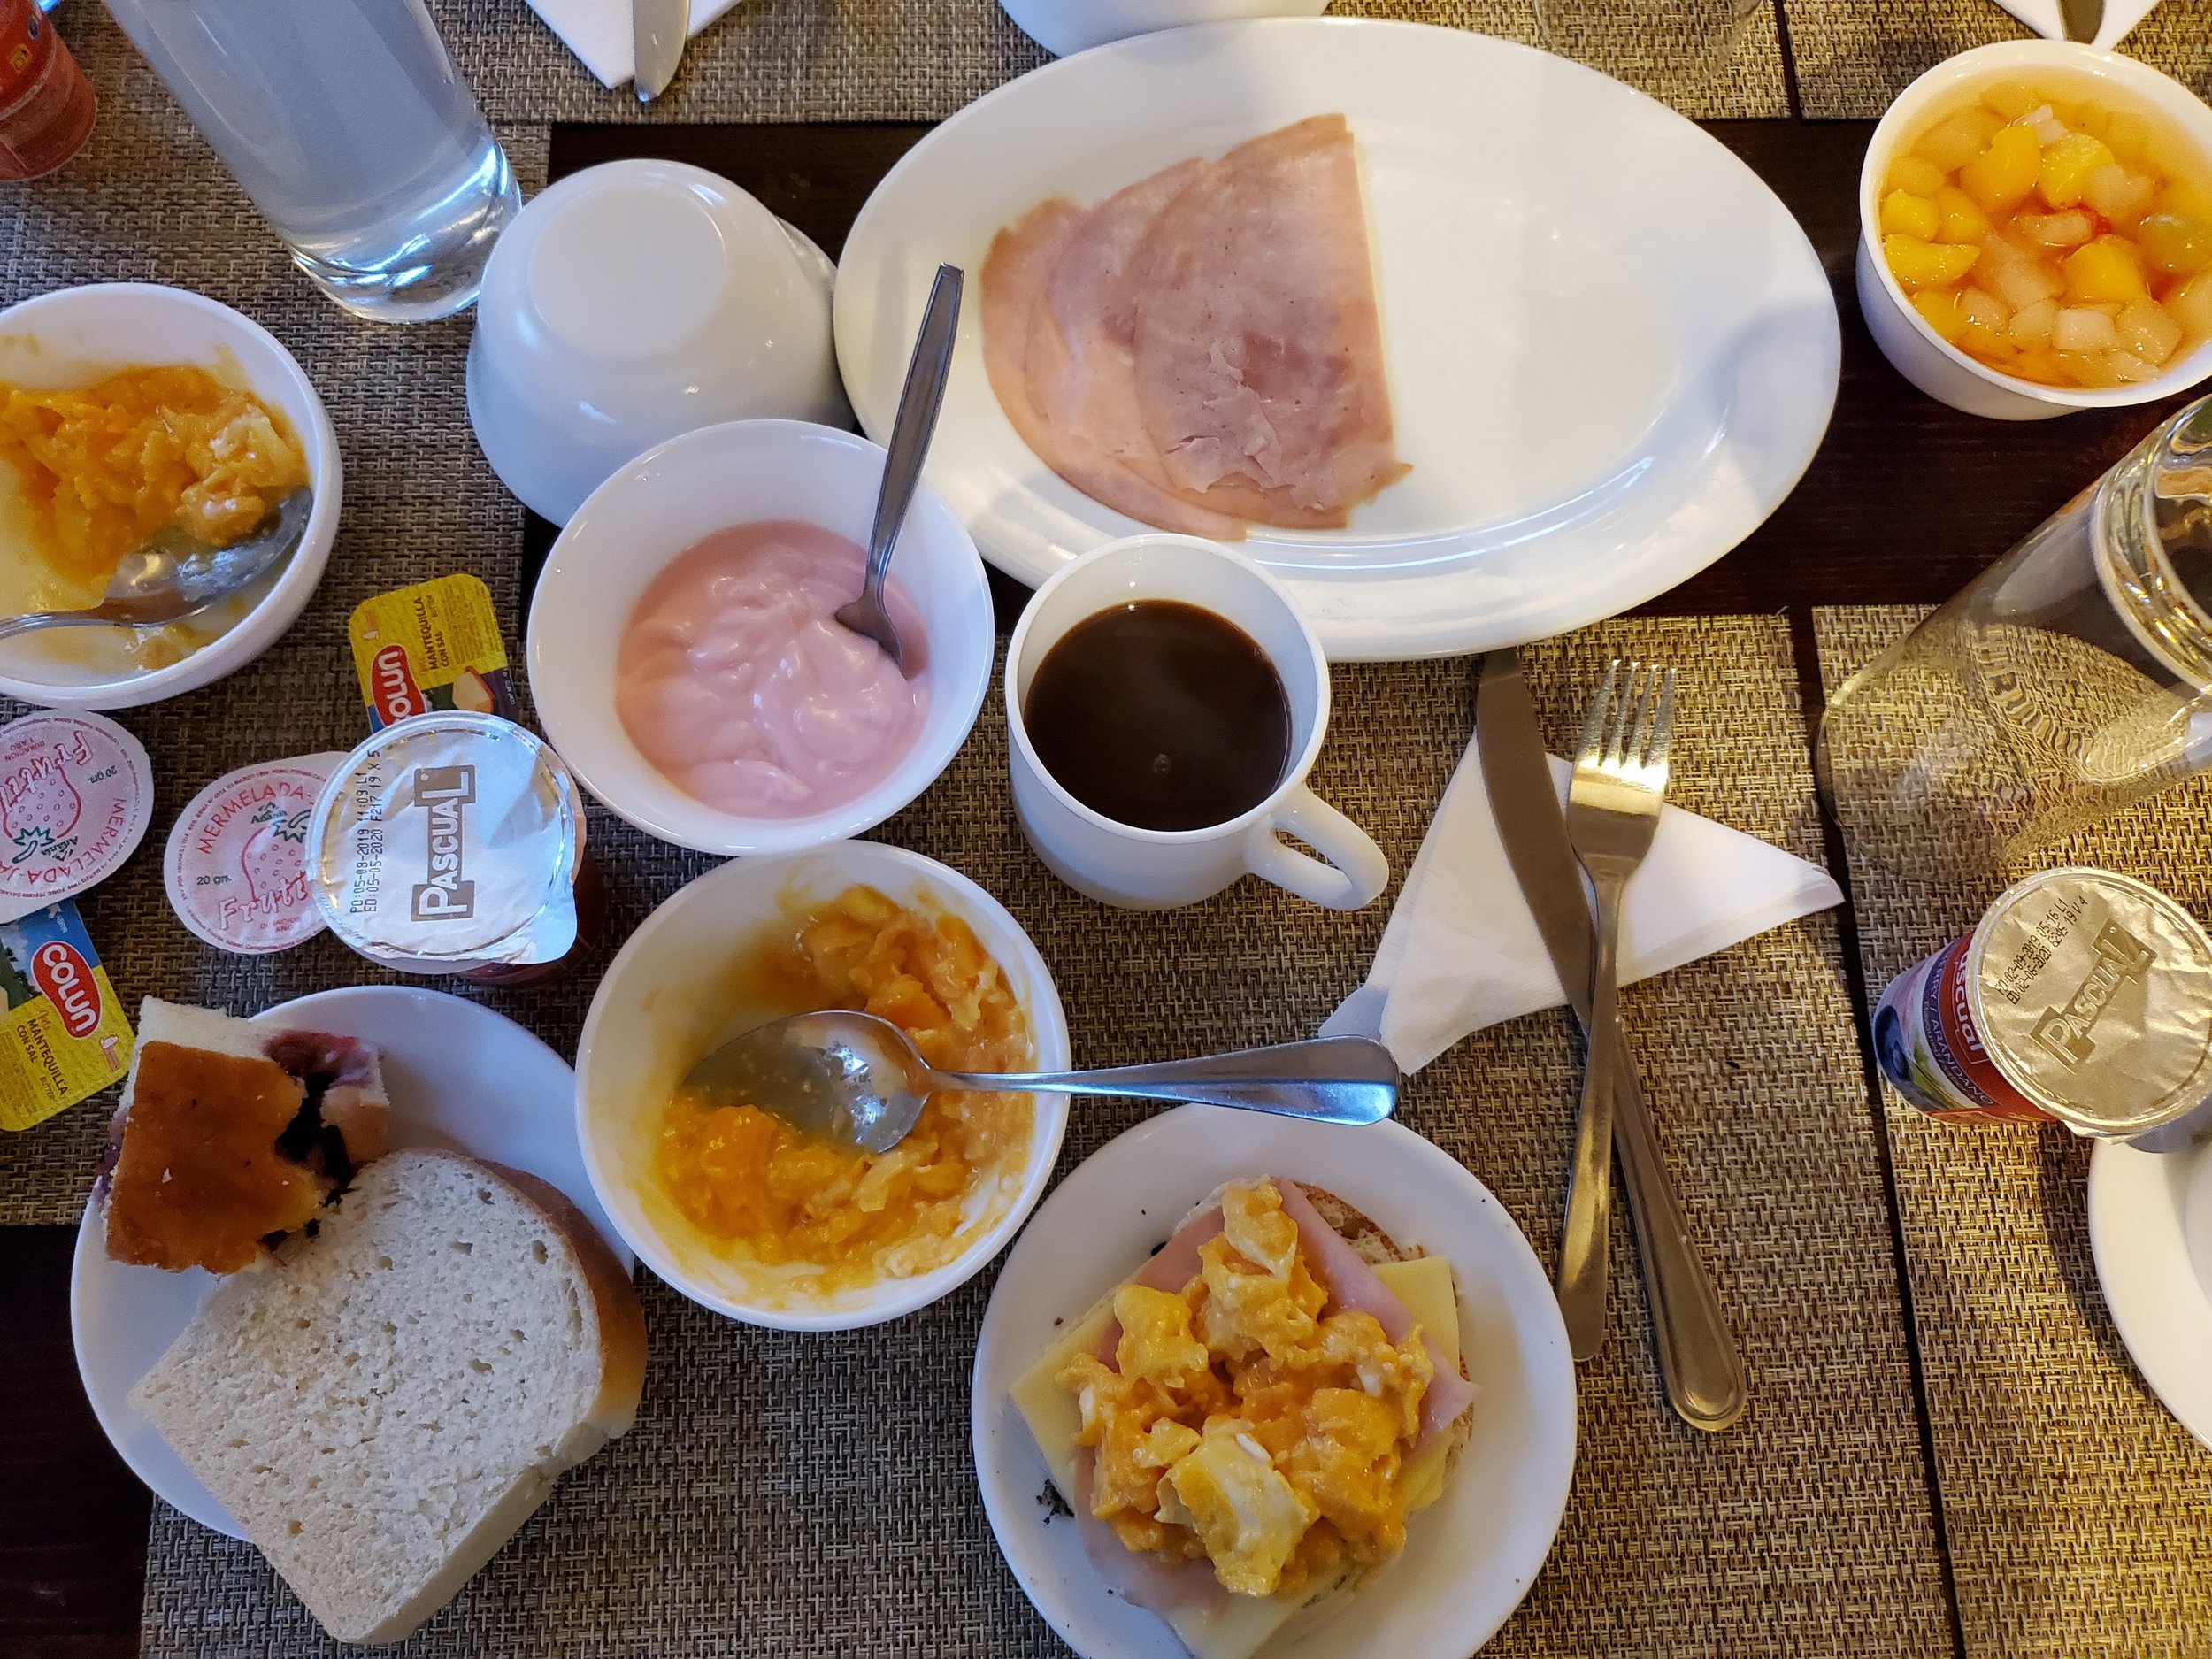
As we mentioned above, regardless of which sleeping option you choose, you can opt in or out for a meal plan. Due to a lack of information available to us at the time, we picked the “Full Board” plan, which included Breakfast and Dinner, plus a sack lunch for every full day we were there. The sack lunch included a chicken salad sandwich, chips, some health bars, and fruit every day. In hindsight, we would recommend pre-paying Half-Board (Breakfast and Dinner), and keeping your lunch flexible.
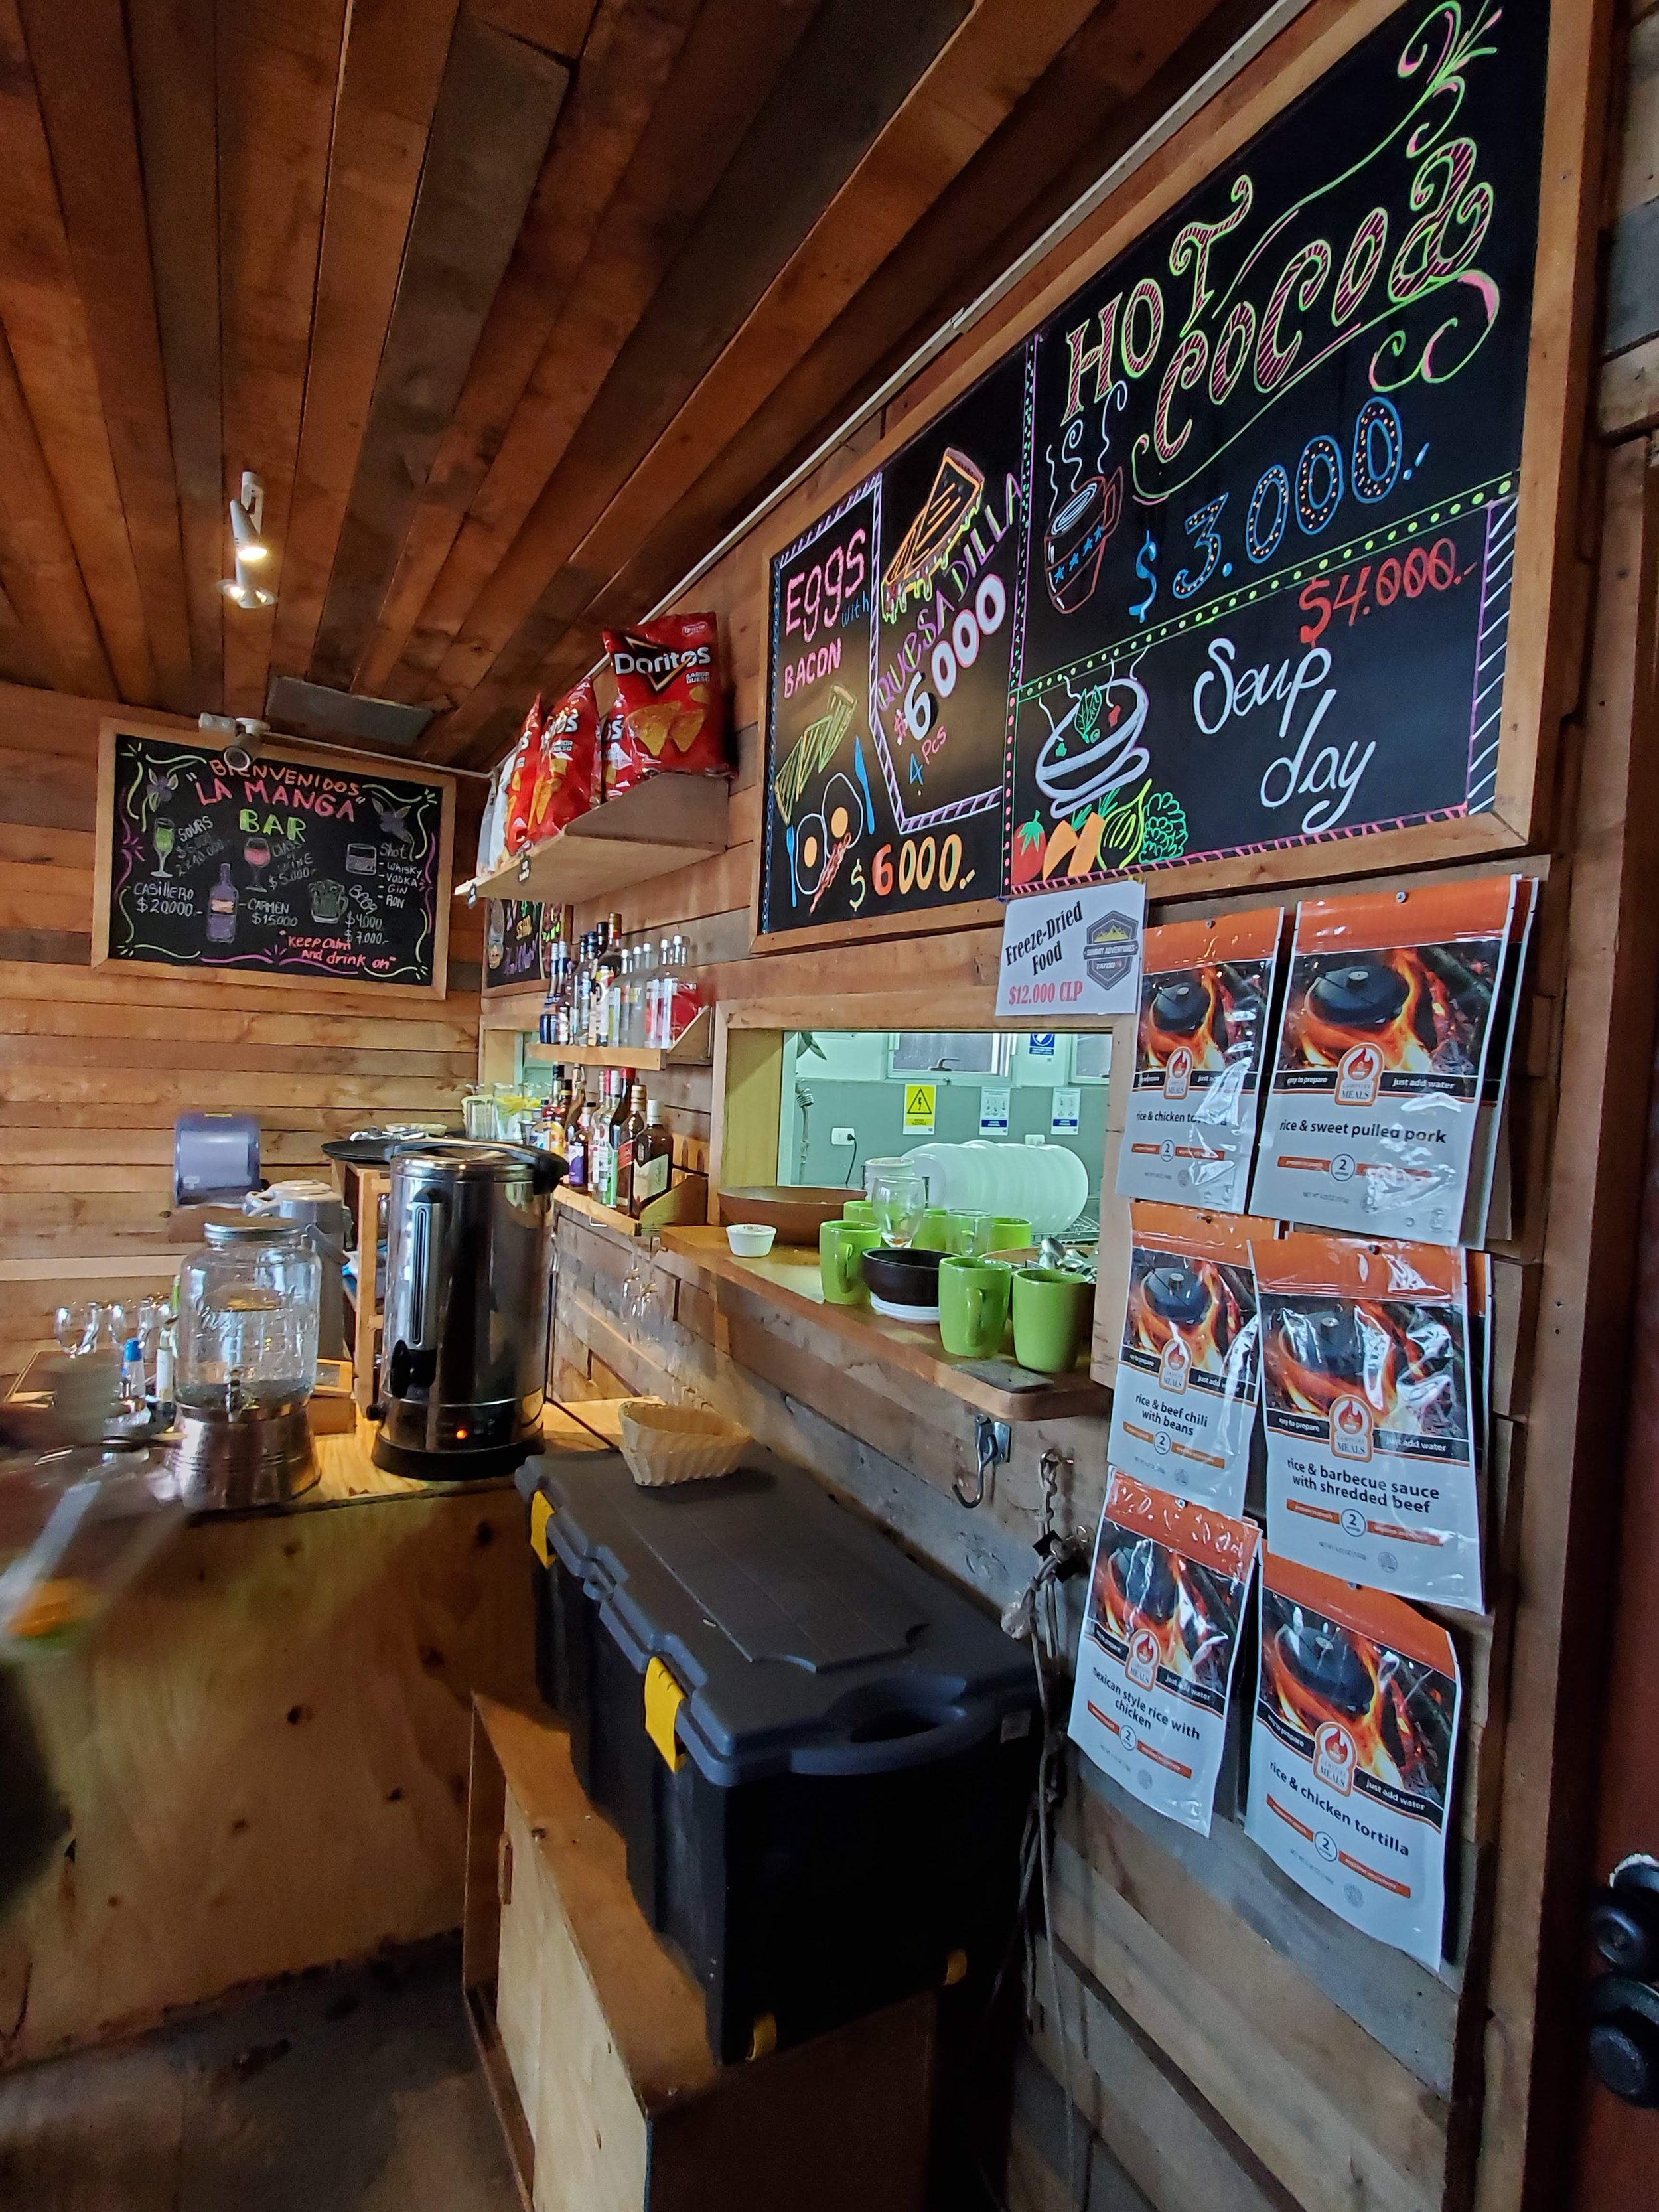
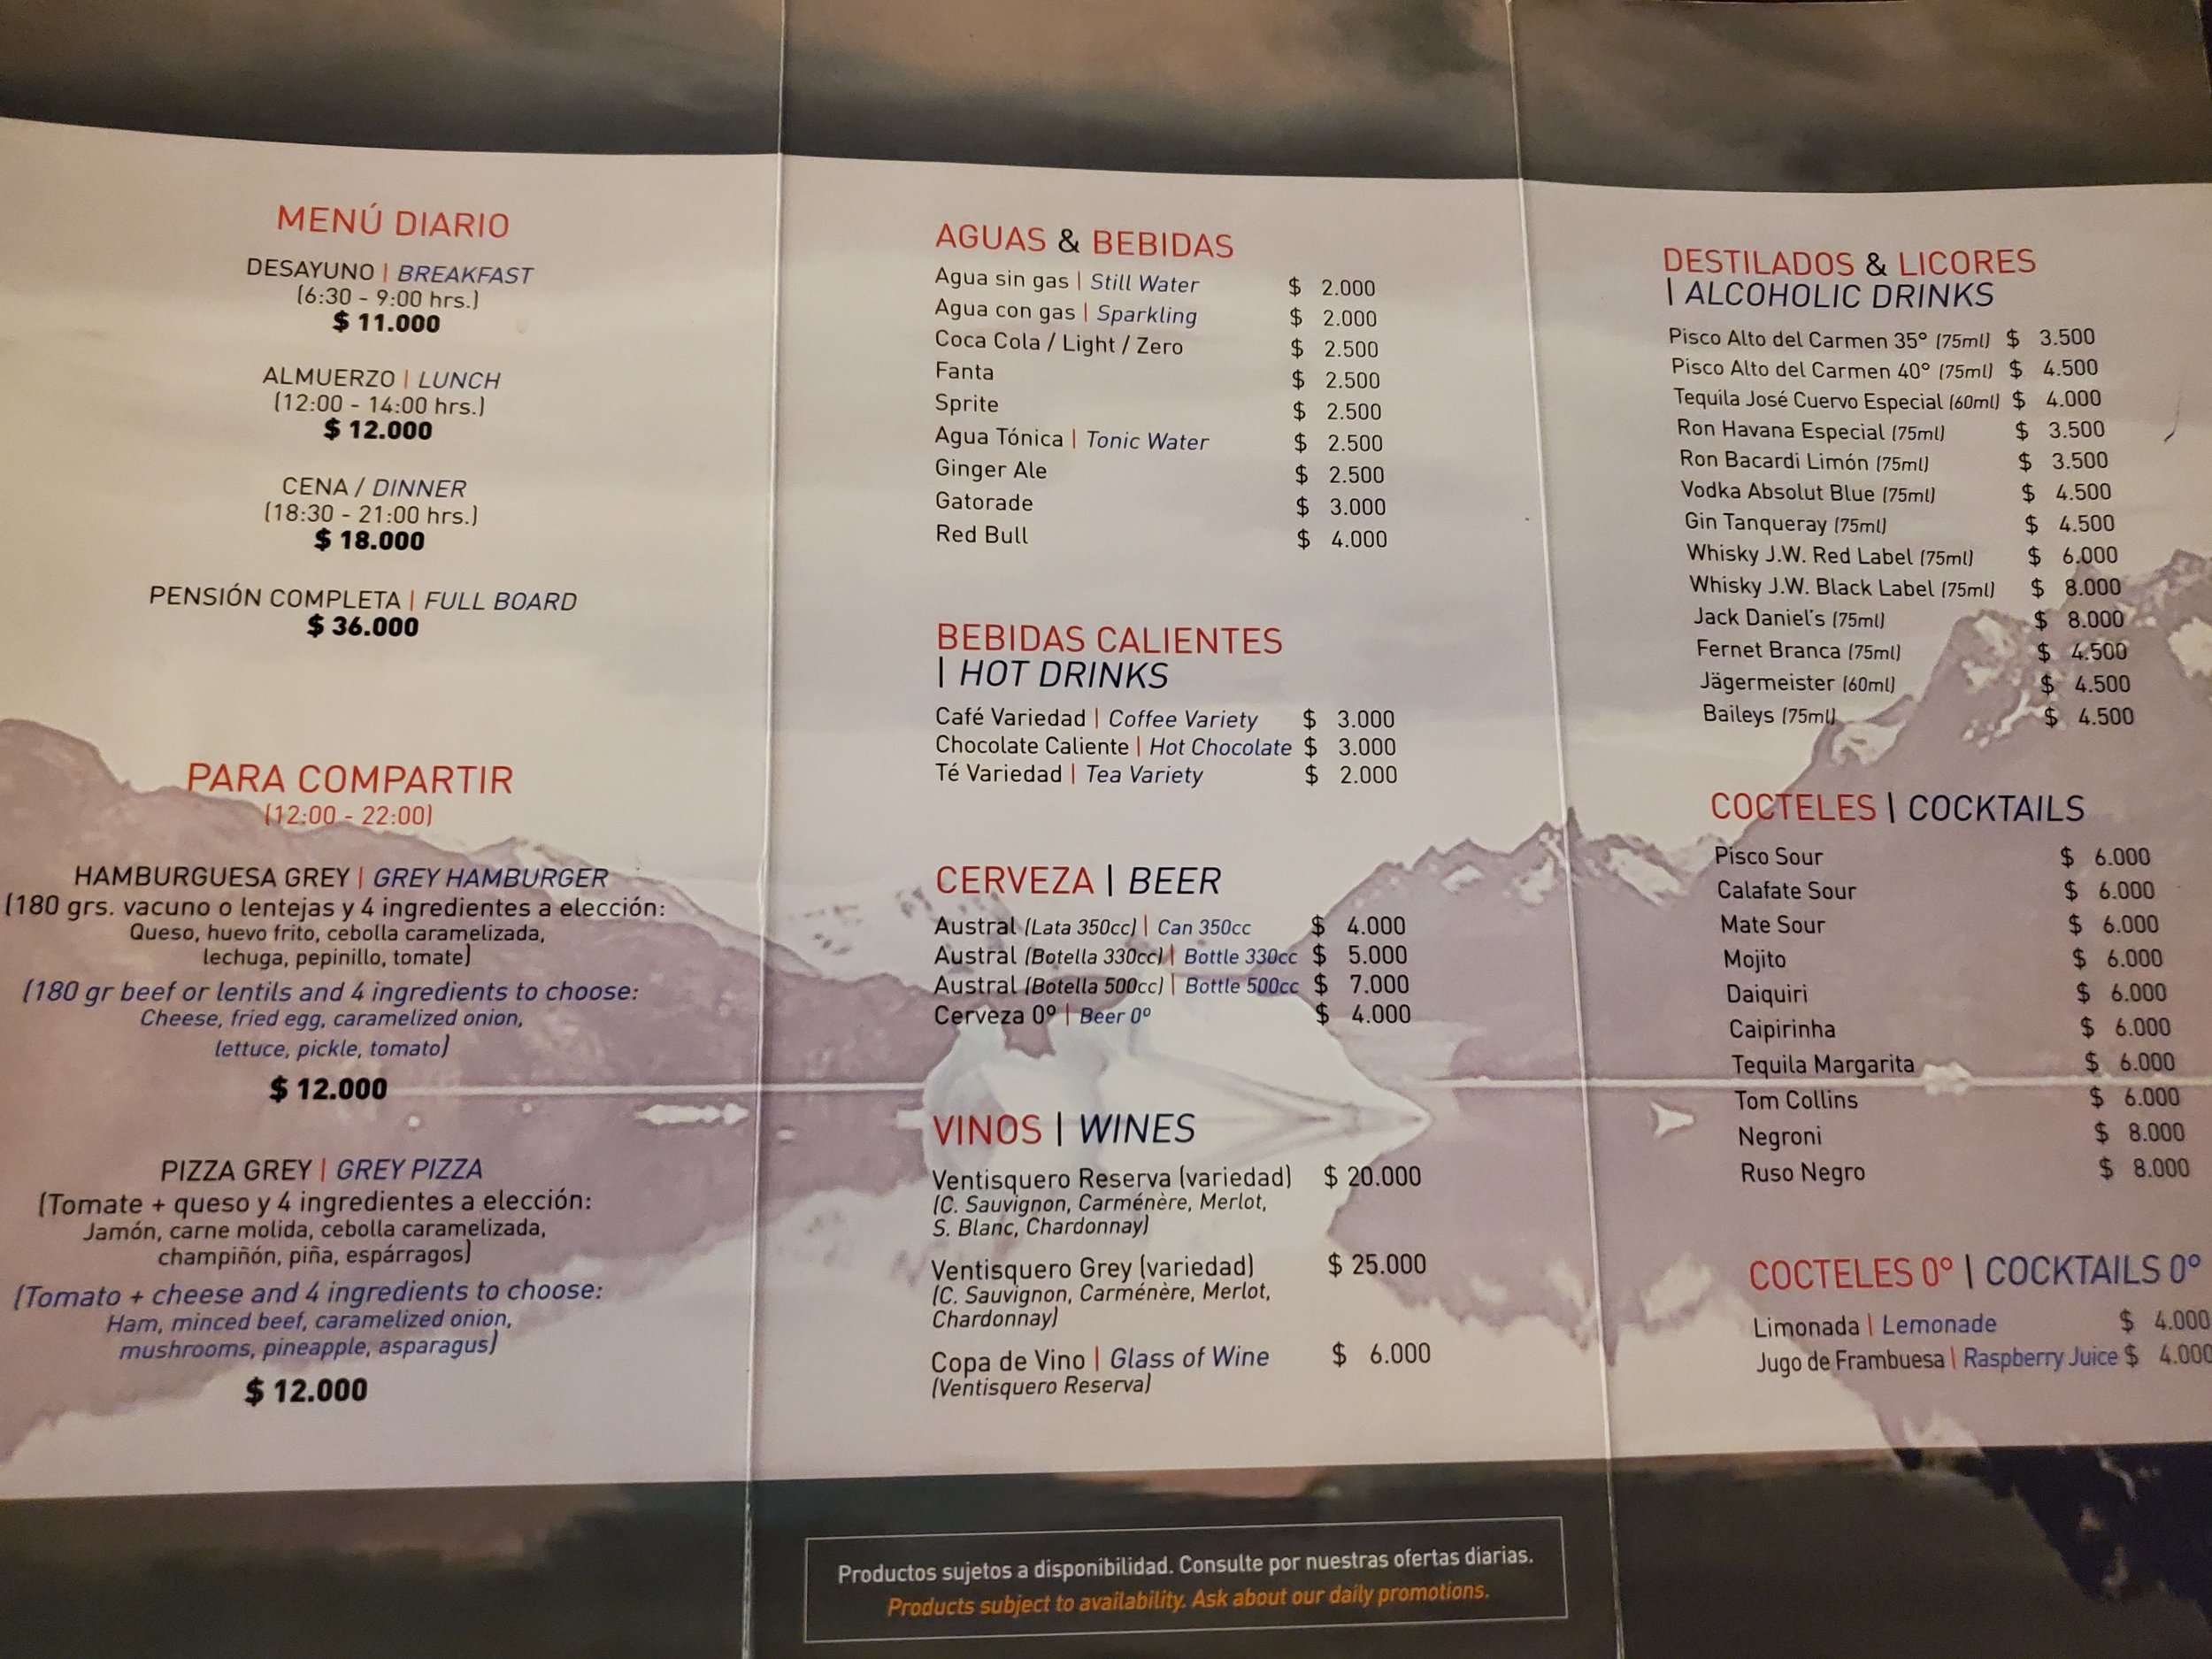
Every Refugio had hot food available to purchase a la carte during the middle of the day, as well as candy bars, chips, fruit, etc. which you could purchase to bring with you on the trail.
Below are some photos of the food, and menus available throughout the Trek. We must have been too hungry to take photos of dinner (oops!), but an example was chicken & rice, vegetable salad, and dessert. We had no complaints. There was some variety and it was always hearty enough to give us energy after a long day of hiking: